As promised! I actually finished them on time (amazing). I modified each MG by adding the water hose from the water can to the water jacket around the machine gun. I used the same thin gauge wire I use for the radio antennae...added a couple of bends to the wire and viola! Not going to mention the pain of attaching the ammo belt. Best advice when doing these types of figures where you have a separate ammo belt is to "dry fit" the Gunner, ammo bearer and the belt. Next, measure the distance between the figures to make sure the belt fits with its curves. Then, very carefully, glue the MG gunner down into the same spot where he was on the dry fit and then do the ammo bearer. Next add the belt. You might have to move the bends around to lengthen or shorten the ammo belt.
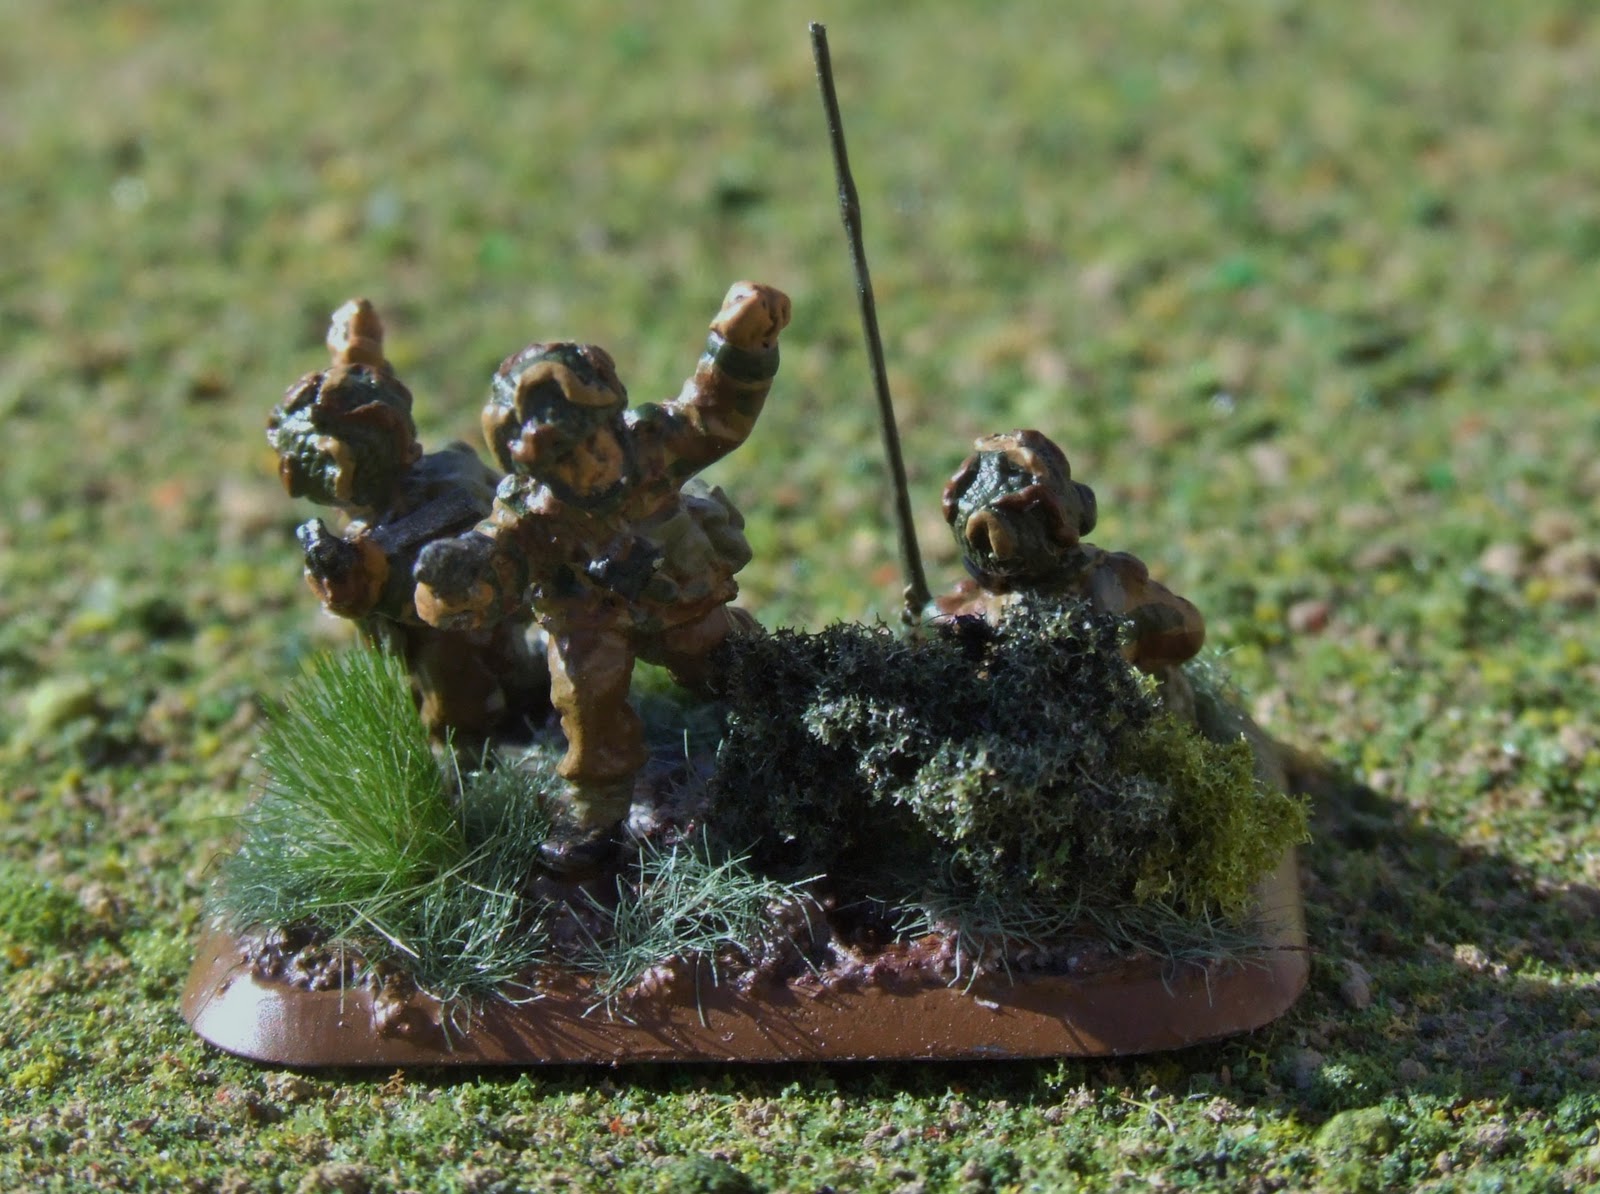
MG Platoon Commander:
1st MG Section:
2nd MG Section:
3rd MG Section:
4th MG section:
I also took some representative pictures of my 3 Para Infantry Platoons and will post those this week.
On the painting table now....Para Assault Platoon!!!! Might take a few weeks cause I have some business travel this next week and wont be able to paint. WITHDRAWAL!!!!!


No comments:
Post a Comment