Wednesday, September 26, 2012

German Stuka


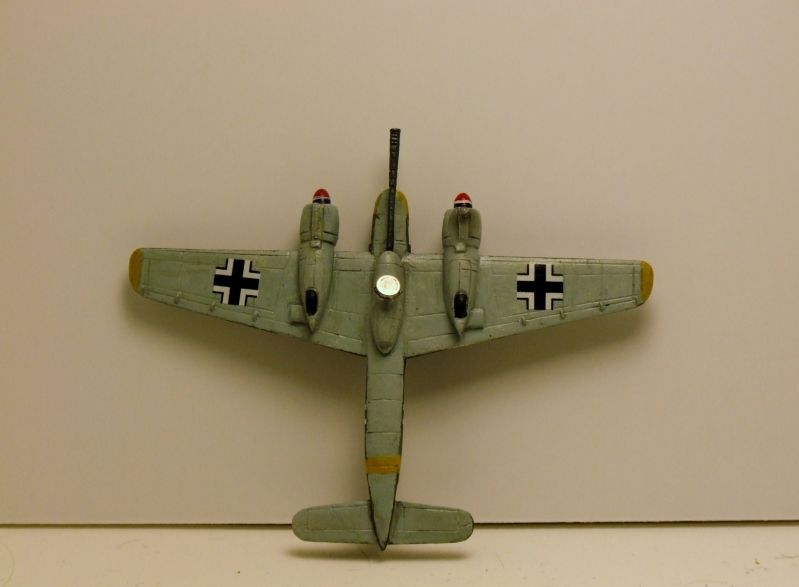
The last of the 3 planes I recently completed was the workhorse of German Close Air Support-----The Stuka. 

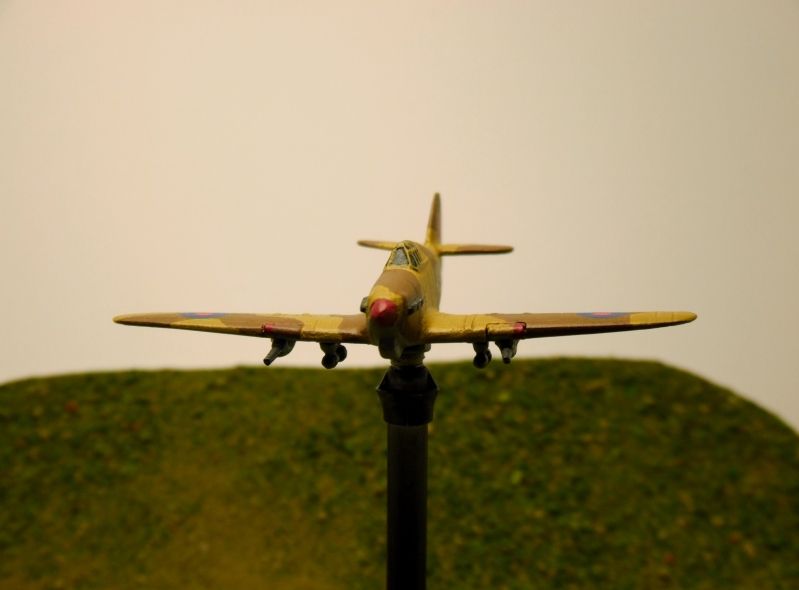
I got this baby during the "Great Plane Swap" at WWPD where folks were selling off their "extra" 2 planes that came in a 3 pack box since the new Version 3 rules for Flames of War  chnaged the rule so that now you only need one model and a die to represent the flight of up to 3 planes versus the V2 method of having a model for each plane in the flight.

This puppy is geared up for action with the wing mounted cannons and bombs...ready to make mincemeat of anything foolish to get in it's sights. MuWuhahahahahahaha

This plane came to me alrready primed so the initial prep work was already for me.  Remember, these planes are not easy to paint. The resin they are made of is VERY slick and does not hold paint well. You HAVE to make sure that you wash the model thoroughly with soapy water and then "rough" it up with super super fine sandpaper (something like 1000 grit or higher). Then you have to use a TRUE primer (not just an undercoat). You need to be careful as the detail is very shallow. Spraycan primers can go on very heavy and if you aren't careful you clog up that detail.


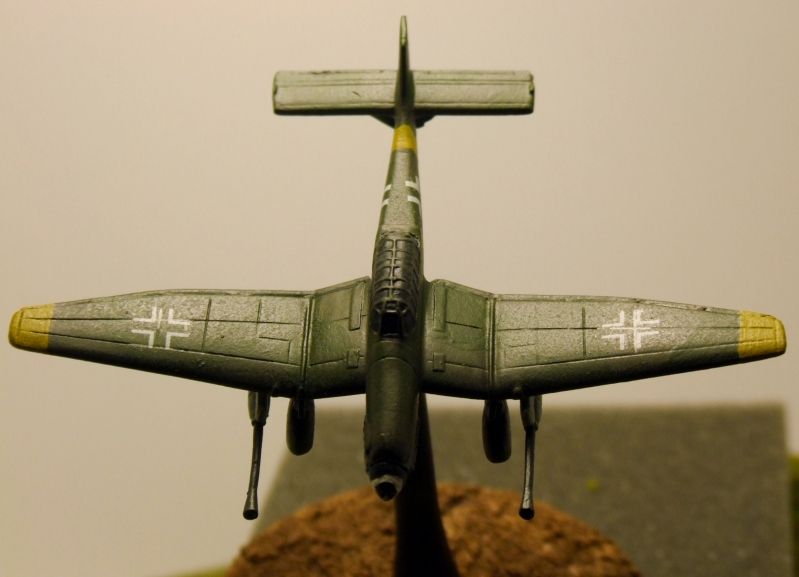
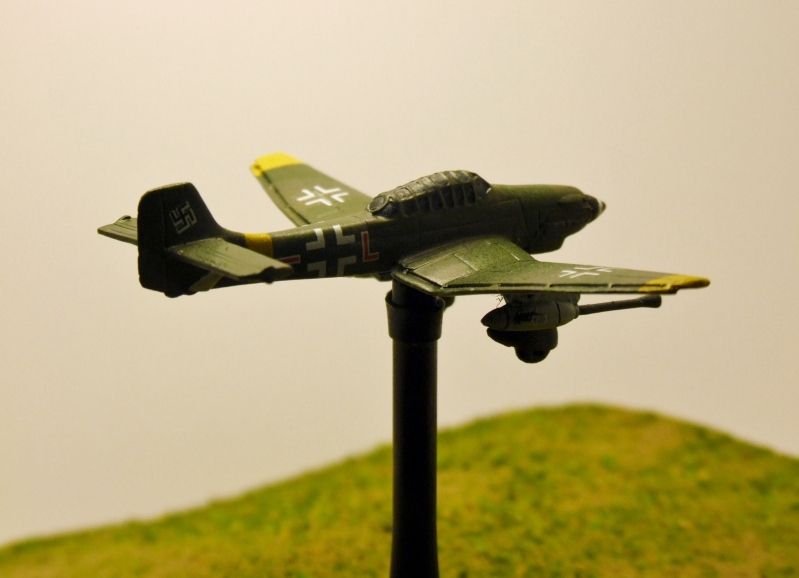
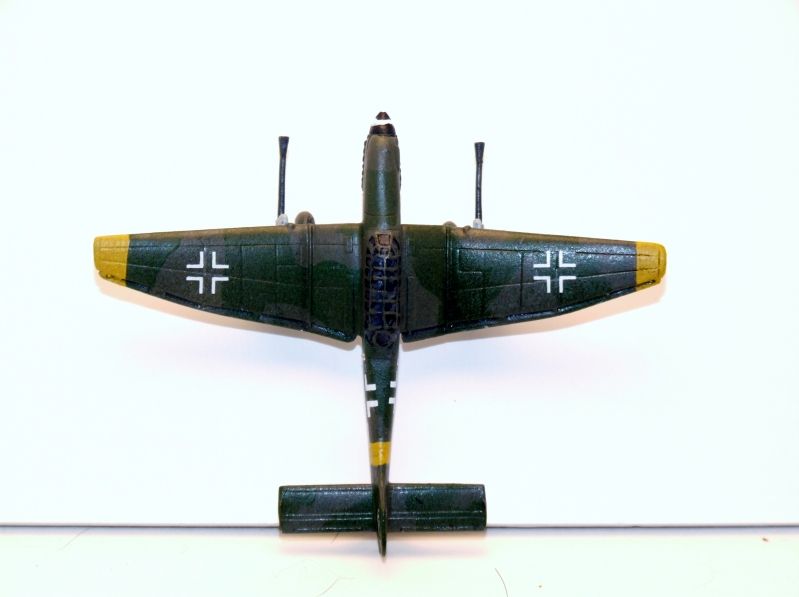
I used the same color scheme ...as well as some leftover decals...from the HS129B3.

830 Field Grey ------ Base top
890 Reflective Green ----- Camo Spotches Top
907 Pale Grey Blue -------Underside
950 Black --- Window Base
964 Field Blue-------- Window reflection squiggles
977 Desert Yellow ---- Base for yellow stripe and wingtips
Testors Yellow Zinc Chromate --- Yellow Stripe and wingtips

Paint Tip:  Painting "Yellow" can be tricky.  If you lay down a brown color first (I used 977 Desert Yellow), "Yellow" goes down much easier on top of the brown base.  Other wise you will be laying down 4-5 fairly heavy coats of "Yellow" to build it up to the right shade....and each layer fills in detail.


Monday, September 17, 2012

German HS-129B3


Back again with a weekly update.  This time its the German HS-129B3 I was able to get done in between commissions.   I love this plane.  It not only looks mean, but it can a mess of enemy armor into squashed tin cans.  It mounts a 75mm autocannon of all things....going against side armor?  YIKES!

This bad boy is perfect for my East Front armies.

Again, these planes are still not easy to paint. The resin they are made of is VERY slick and does not hold paint well.  You HAVE to make sure that you wash the model thoroughly with soapy water and then "rough" it up with super super fine sandpaper (something like 1000 grit or higher).  Then you have to use a TRUE primer (not just an undercoat).  You need to be careful as the detail is very shallow.  Spraycan primers can go on very heavy and if you aren't careful you clog up that detail.


So here is what I did:


830 Field Grey ------ Base top
890 Reflective Green ----- Camo Spotches Top
907 Pale Grey Blue -------Underside
950 Black --- Window Base
964 Field Blue-------- Window reflection squiggles
977 Desert Yellow ---- Base for yellow stripe and nose
Testors Yellow Zinc Chromate --- Yellow Stripe and Nose

Paint Tip:  Painting "Yellow" can be tricky.  If you lay down a brown color (I used 977 Desert Yellow), "Yellow" goes down much easier.  Other wise you will be laying down 4-5 fairly heavy coats of "Yellow" to build it up to the right shade....and each layer fills in detail.

Decals are those supplied in the Battlefront box.  The side decals gave me A LOT of trouble  They are long and kept wanting to curl up on me....One set actually broke apart into 4 pieces on me.  Luckily you have 3 sets of decals on the one transfer sheet....a hold over from when planes came 3 to a box.

As with the Hurricane IIC, I hand brushed the entire model.  Did a gloss coat when finished and did 3 layers of a light pin wash to bring out the panel lines.  Then hit it with a flat matte finish to kill the shine.

Monday, September 10, 2012

British Hurricane IIc


Greetings all!  Its been a while since I posted some pics of my stuff...but Fear Not!!!  I have not stopped painting, just been focusing on some commission pieces that have taken priority over my stuff, and the folks I am doing the work for will be posting MUCH better pics than I do.  When they post I will link to their site.  Those jobs have been...and still are some interesting pieces.


So, while I have been waiting for stuff to dry on the commission pieces, I was able to knock out some aircraft.  The first I did is for a Mid-War Team tournament where I am running about 1000 points of Brit paras in Italy from the North Africa book.  Here I can get a Hurricane IIc...and I just had to .  Its ALMOST as good as the Typhoon I get for my Arnhem paras.


These planes are still a pain to paint.  The resin they are made of is VERY slick and does not hold paint well at all.  First tip is to wash the model thoroughly with soapy water and then "rough" it up with super super fine sandpaper (something like 1000 grit or higher).


My color Scheme:

914 Green Ochre ---- Base color
824 German Camo Orange Ochre ----- 1:8 Wash (paint to water)
989 Sky Grey ---- Underside
875 Beige Brown ---- Camo Splotches
984 Flat Brown ---- Base for Little Red dots by the Cannon and the Nose
957  Flat Red ---- Little dots by the  Cannon and the Nose
950 Black ---- Window Base
964 Field Blue ---- Window reflection squiggles

Decals are those supplied in the Battlefront box.

I hand brushed the entire model.  Did a glos coat when finished and did 3 layers of a light pin wash to bring out the panel lines.

This should bring some pain in our tournament as it is Limited Air...with 5 dice instead of the Sporadic Air with 3 dice I get with the Typhoon in my Late War list   Mwuwahahahahahaha.