A few buddies and I spilt the Open Fire box set a while back and I got the Sherman Vs. I was dying to see how the new plastics painted up...but there weren't enough there to make a full unit....so what to do...what to do...well that is easy, buy enough tanks to make the full unit of course. ;-)
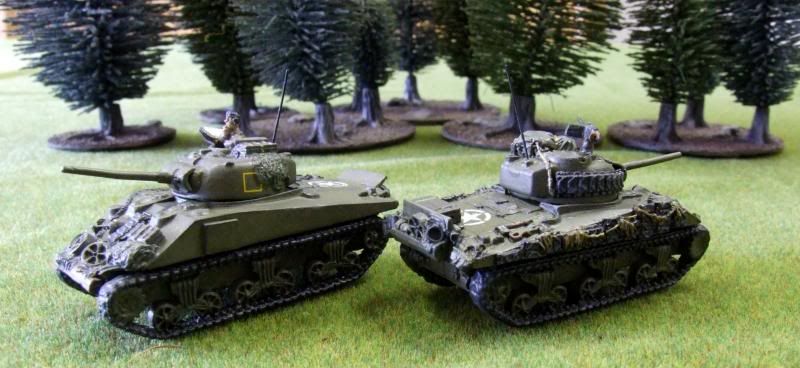
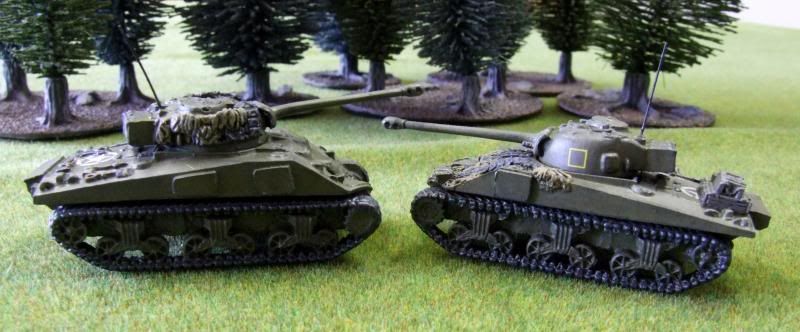
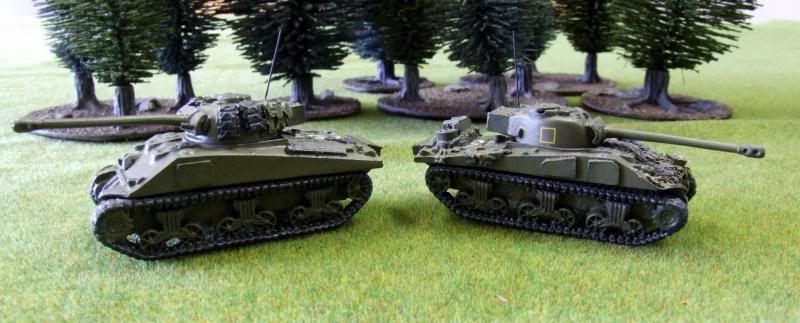
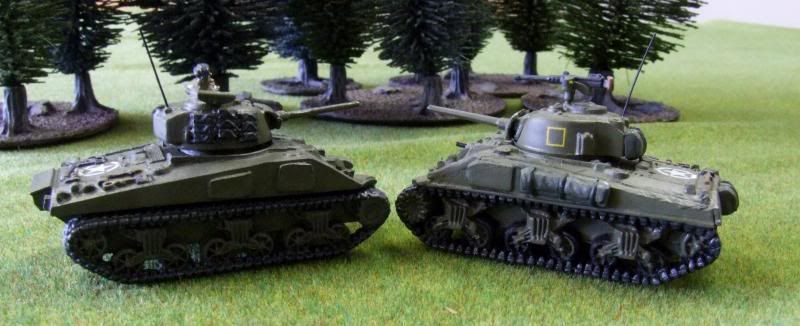
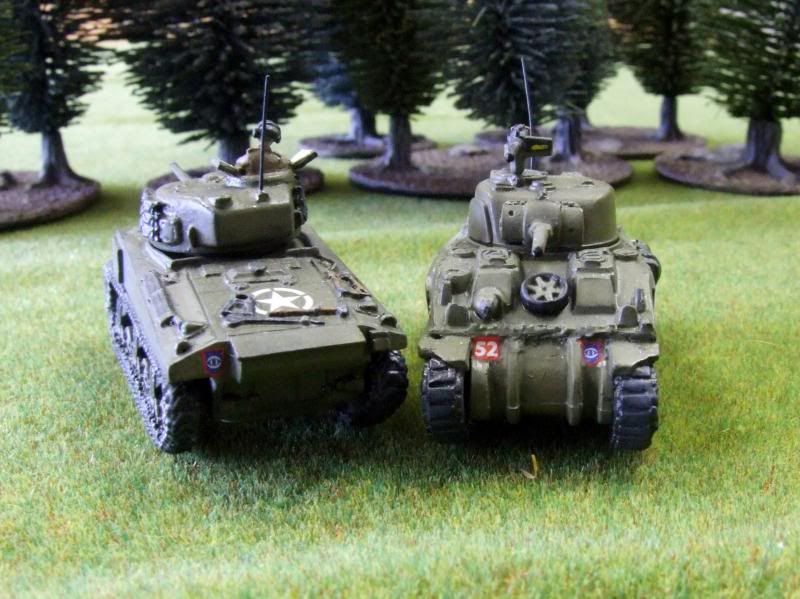
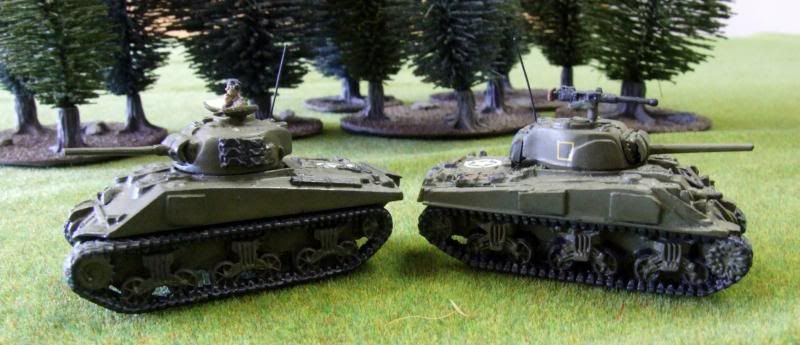
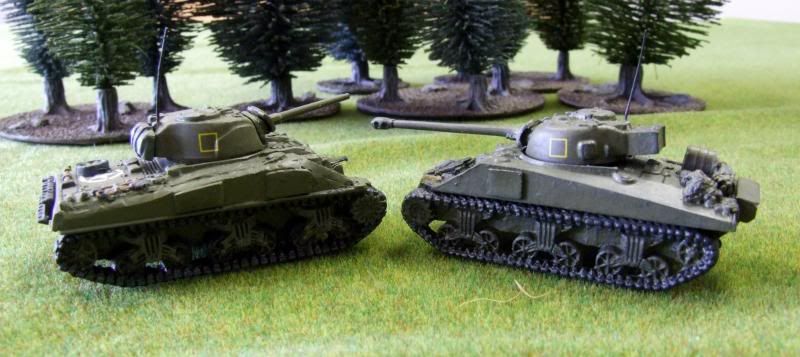
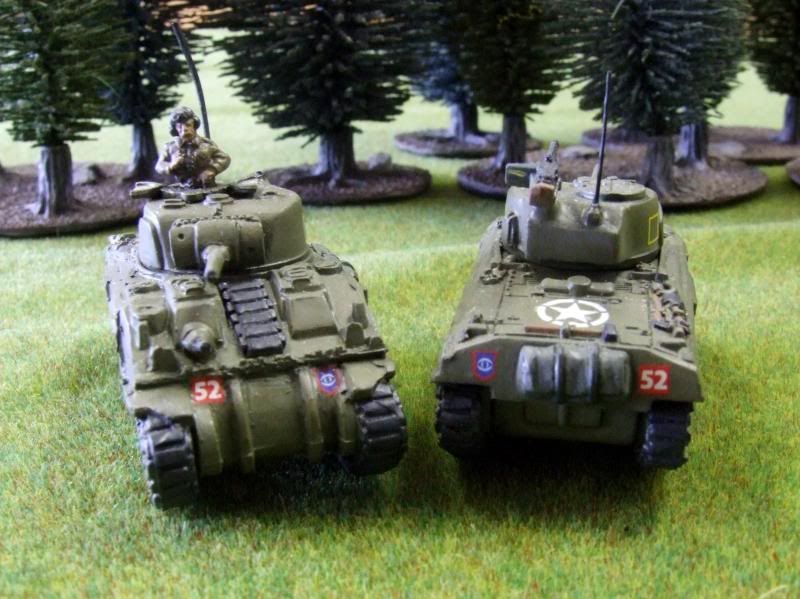
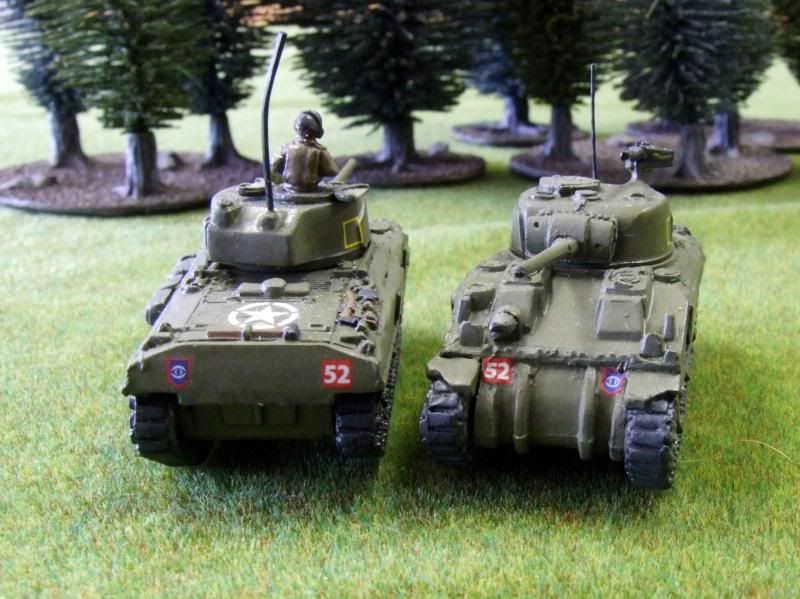
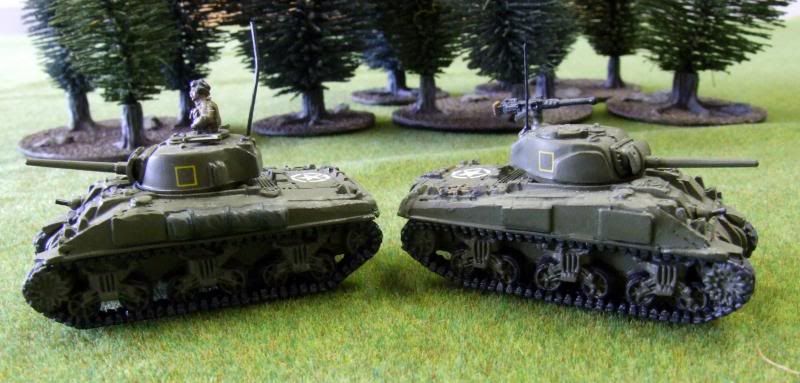
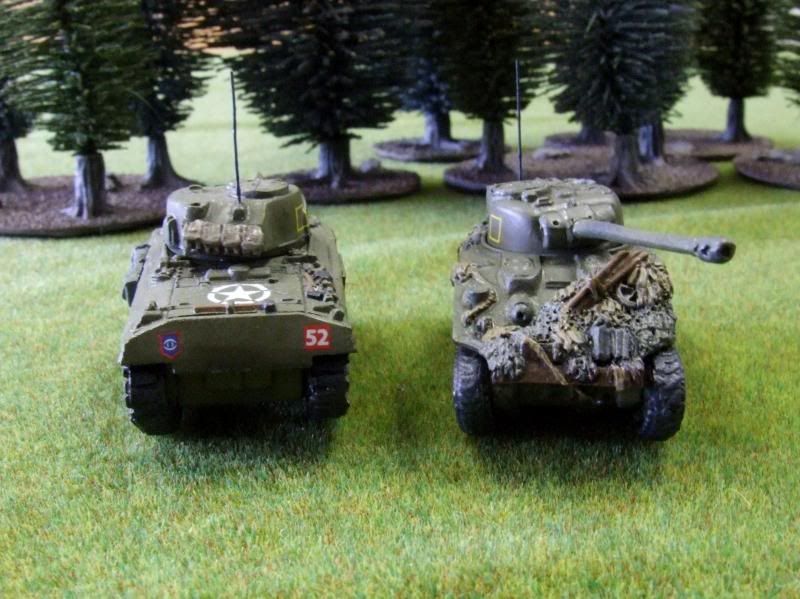
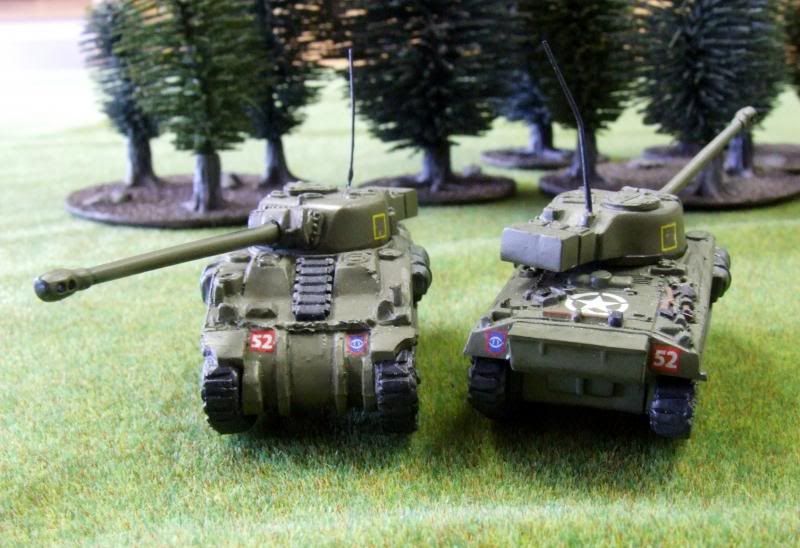
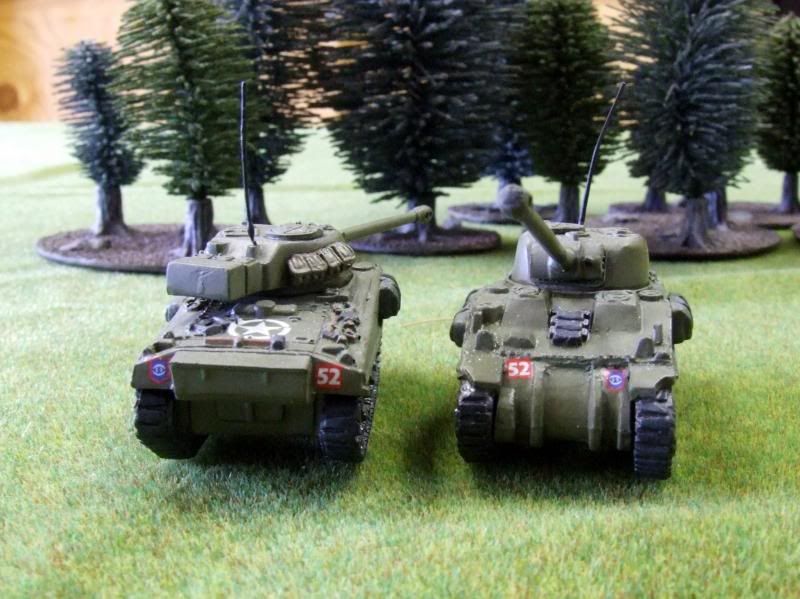
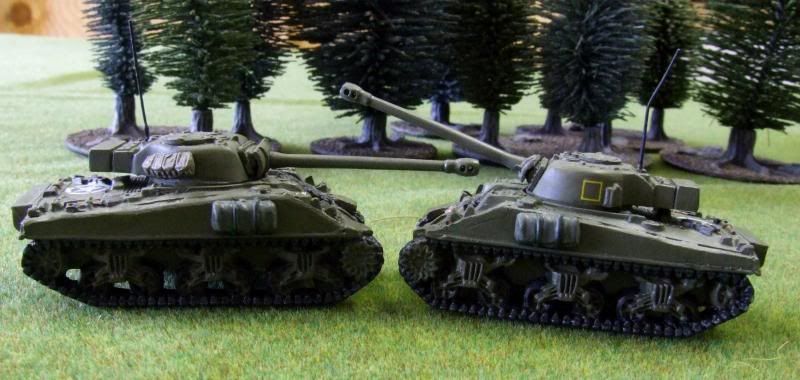
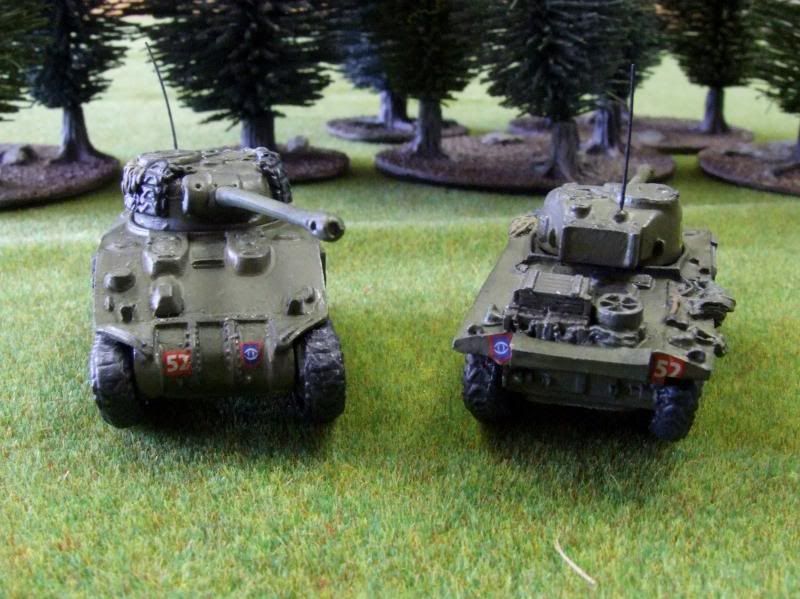
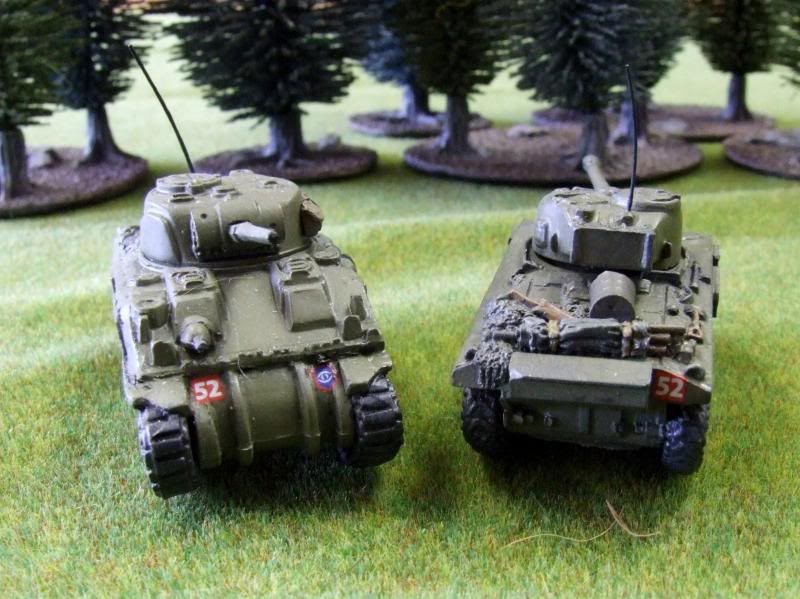
So, with 6 Sherman Vs and 2 Firefly Shermans from the Open Fire set, I needed to get quite a few more models to represent a unit from the No. 2 Squadron, 2nd Guards Regiment (Coldstream Guards) in Market Garden.
So I found Sherman V platoon box set on sale (Go Hobbytown USA!) and a few blisters to give me 3 Platoons and the Command Section, for a whopping total of 10 Sherman Vs and 6 Fireflies (up to 2 Fireflies per platoon in Market Garden).
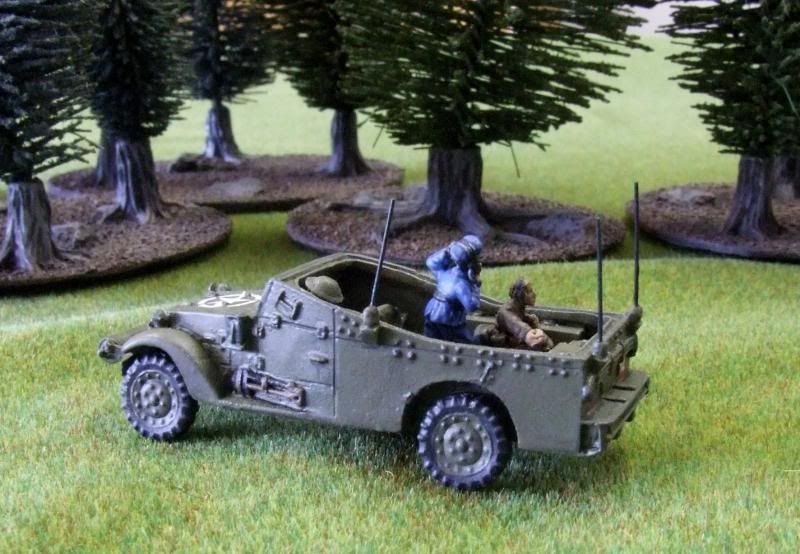
And of course....you cant run the Irish Guards at Market Garden with JOE Vandeleur.
JOE Vandeleur
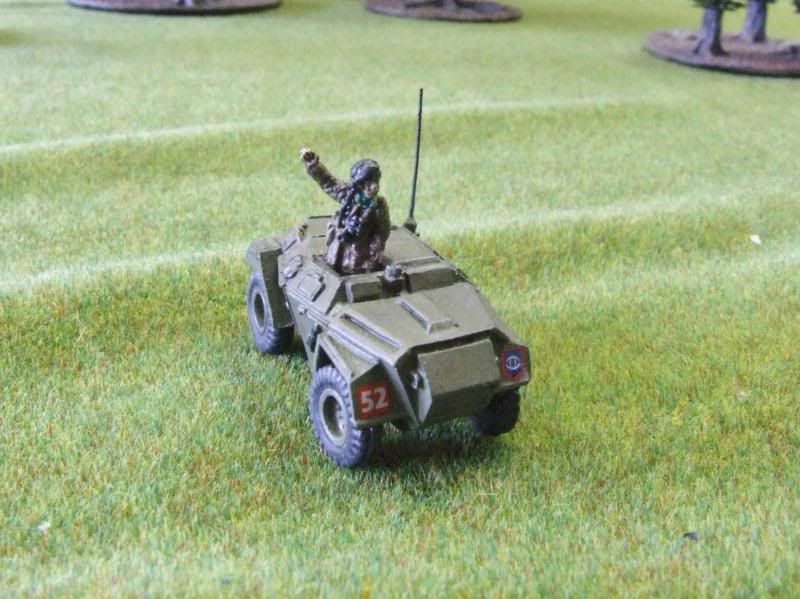 |
| Michael Caine! (Always loved the Kelly Green Neck Scarf) |
RAF Air Controller
Company Command Section:
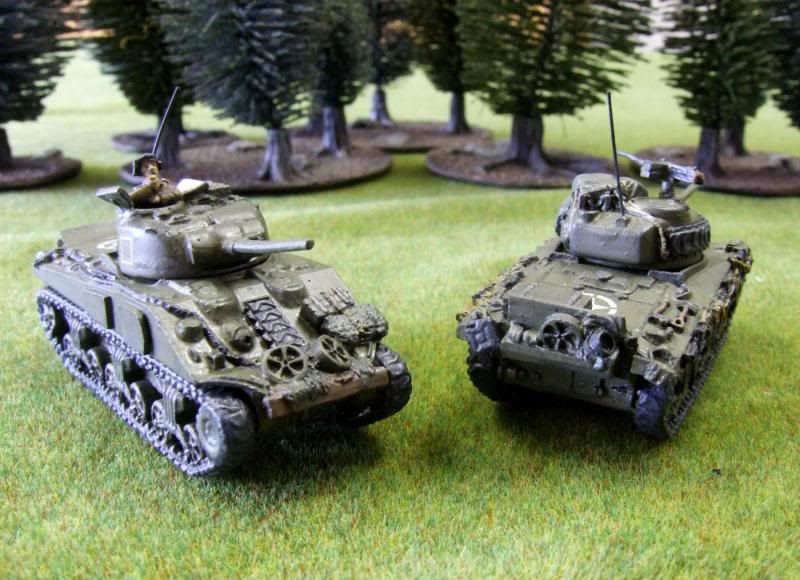
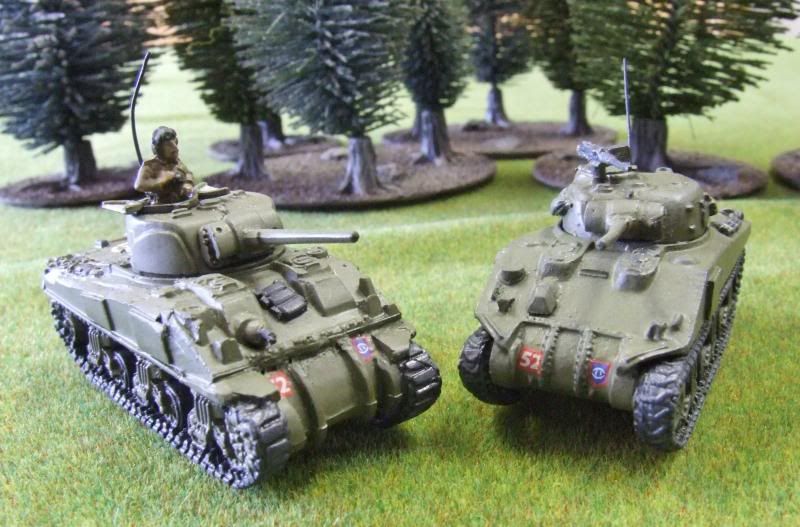
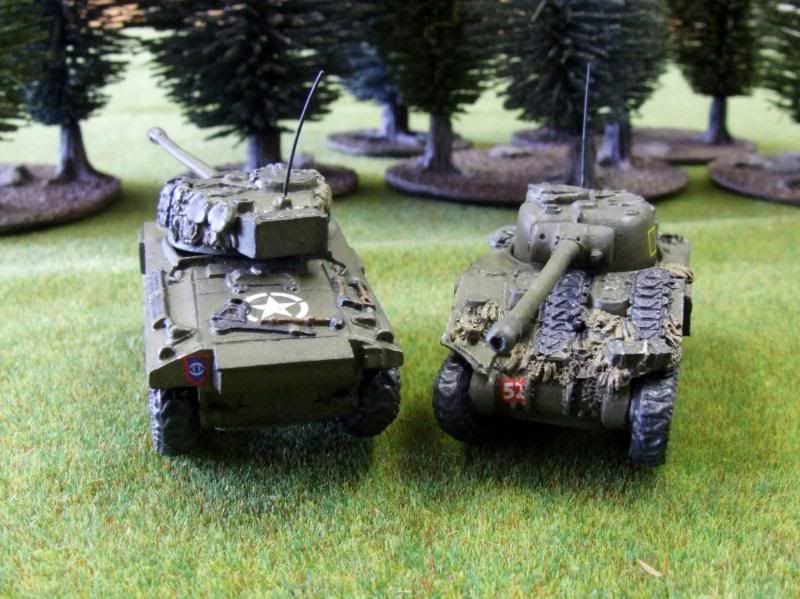
1st Platoon:
 |
| I have this platoon with the 2 Firely/plt option for Market Garden |
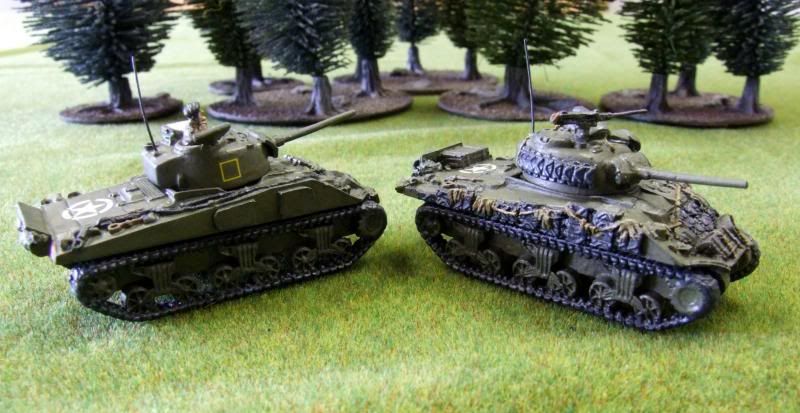
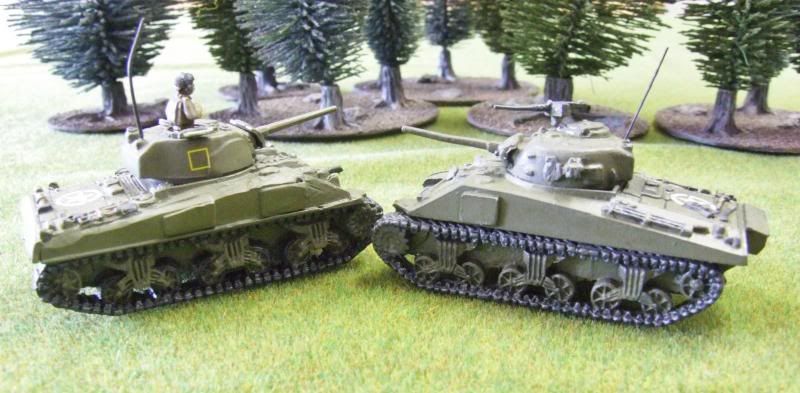
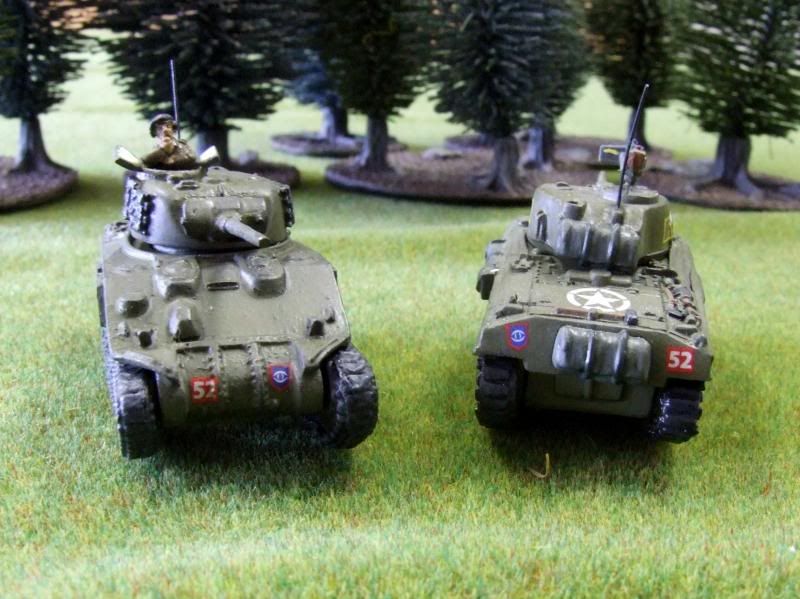
2nd Platoon
 |
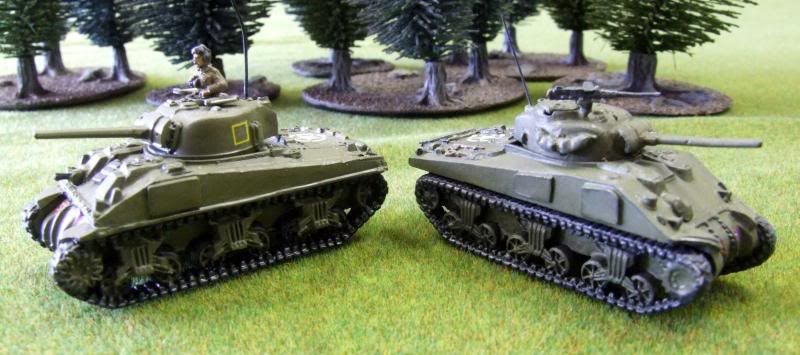
| 2nd and 3rd Platoon have option for 1 or 2 Fireflies/Plt |
3rd Platoon
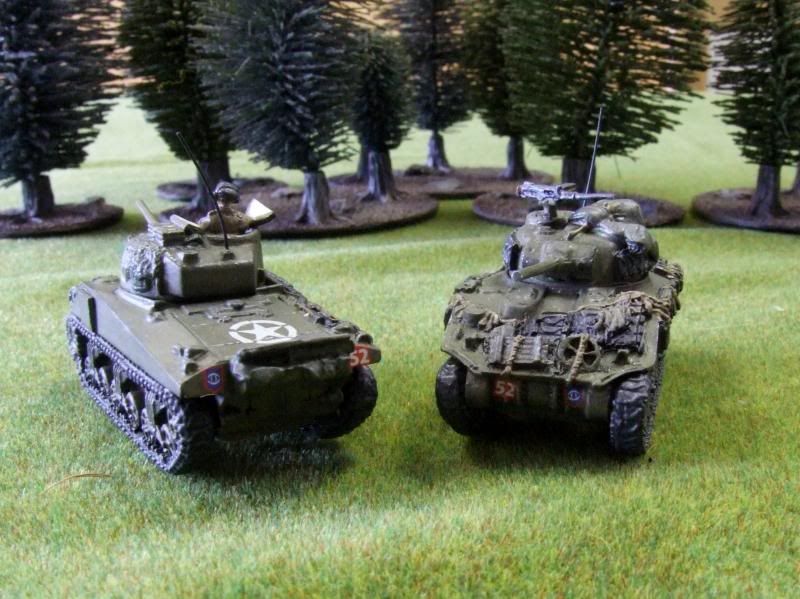
2 extra Fireflies to bring 2nd and 3rd Plt up to 2 Fireflies/Plt. As is, 2nd and 3rd Plt are perfect for Normandy battles with 3 Sherman Vs and 1 Firefly..
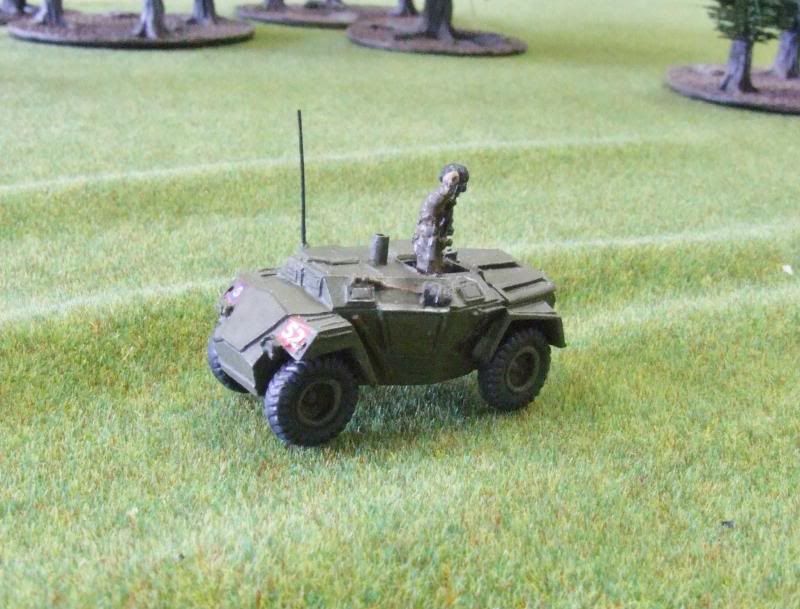
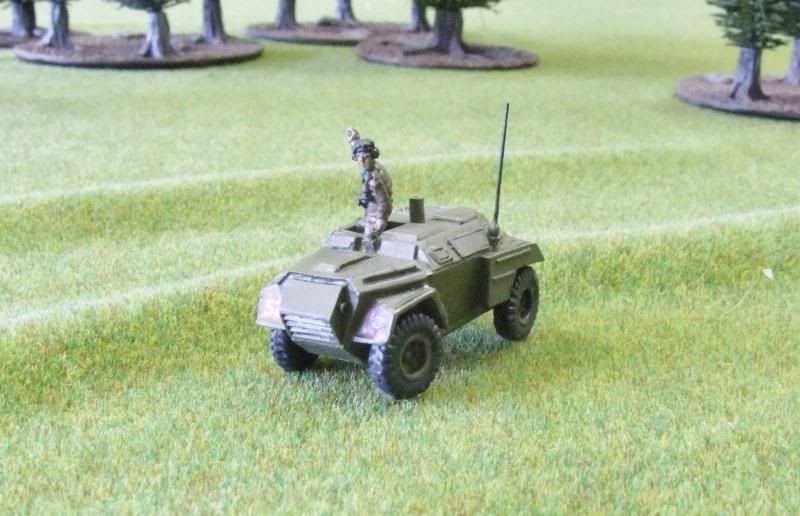
All the antennae are either bristles from a brush I found or stretched plastics sprue. I am moving away from using piano wire after some rather nasty bloodletting incidents.
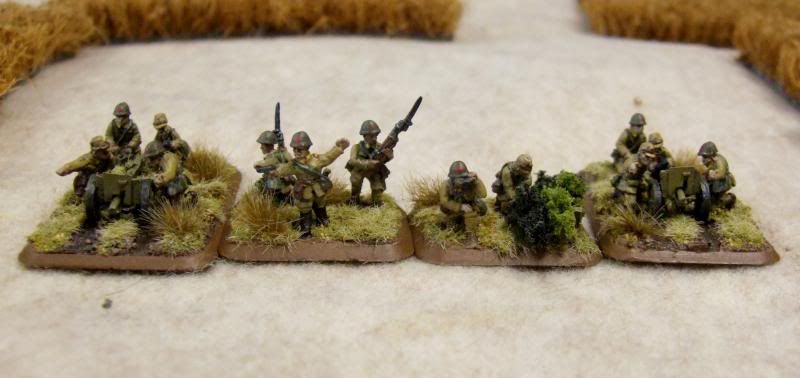
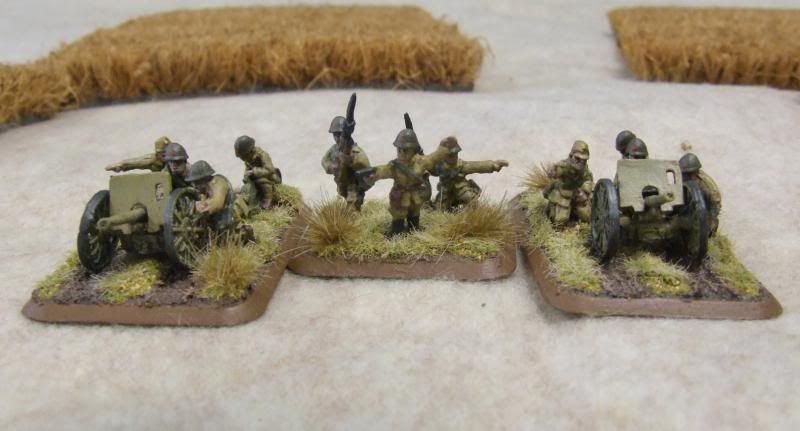
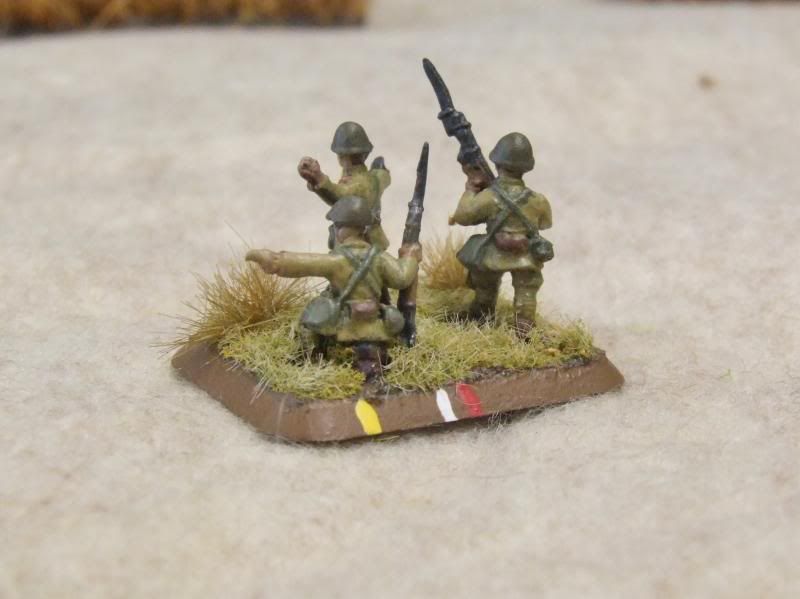
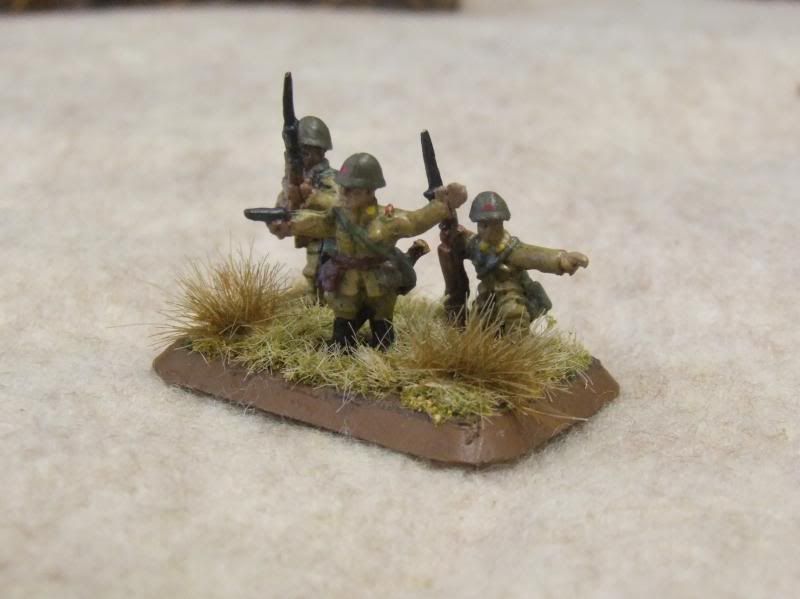
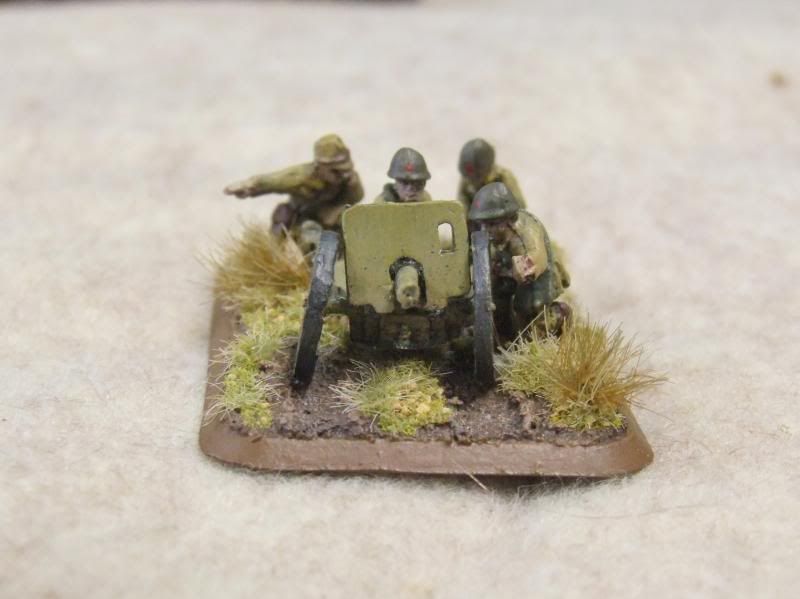
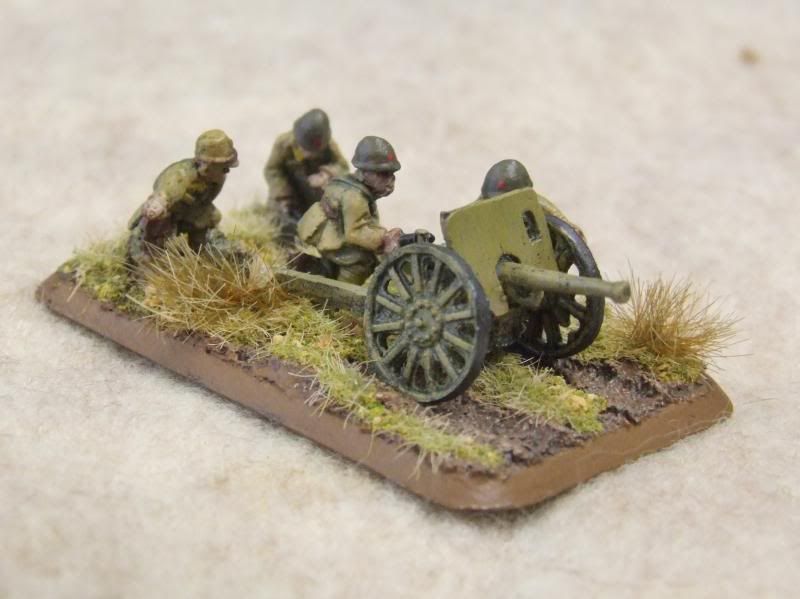
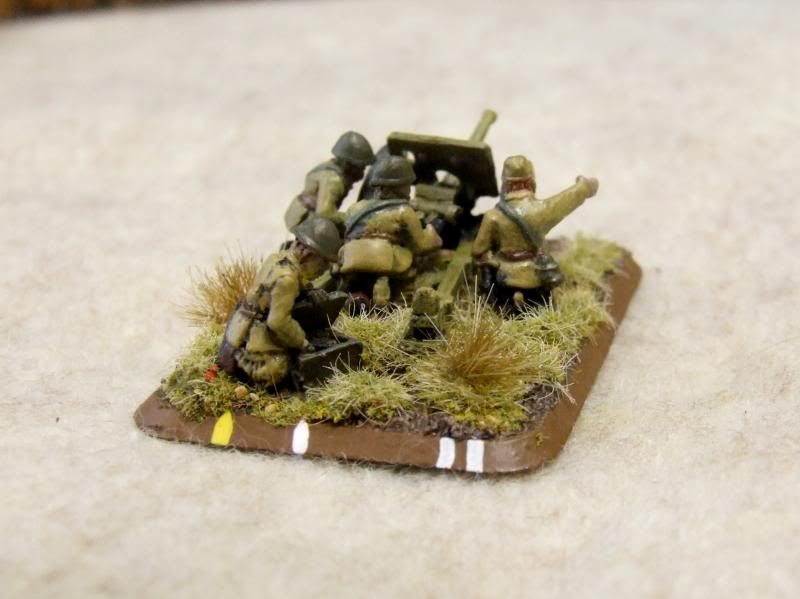
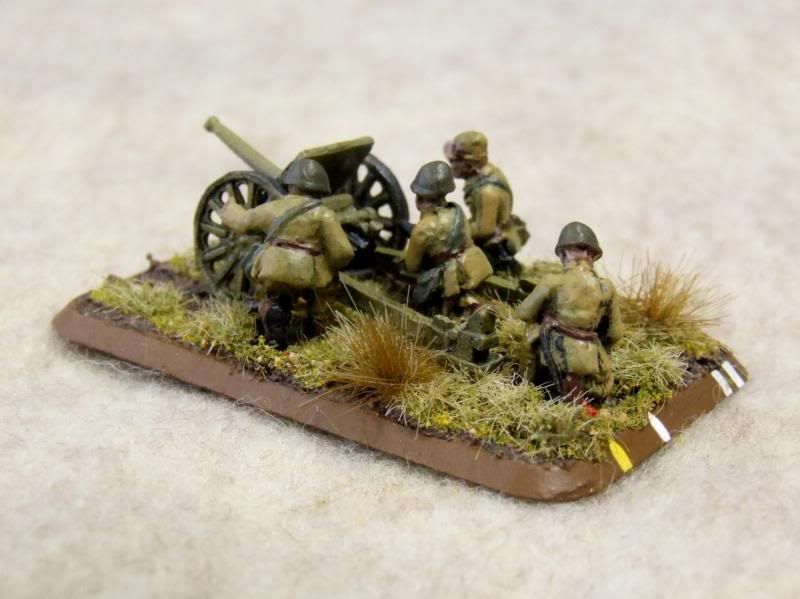
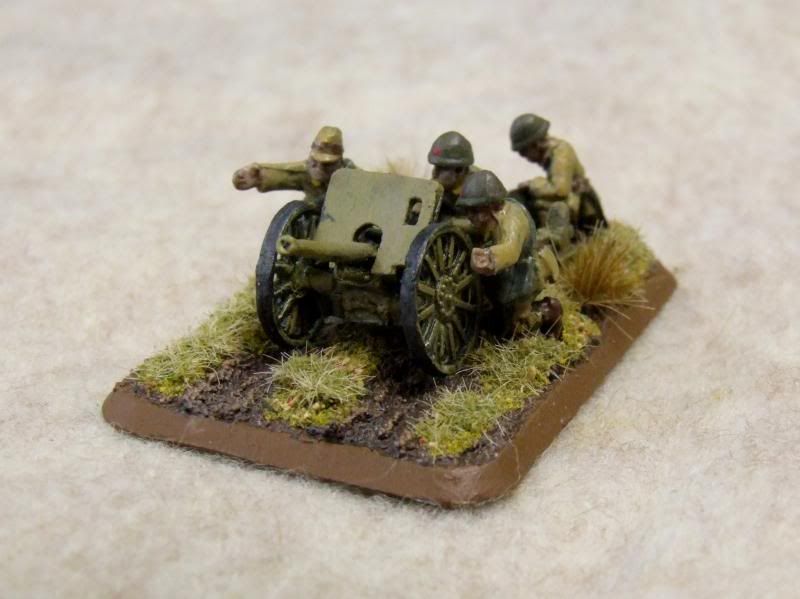
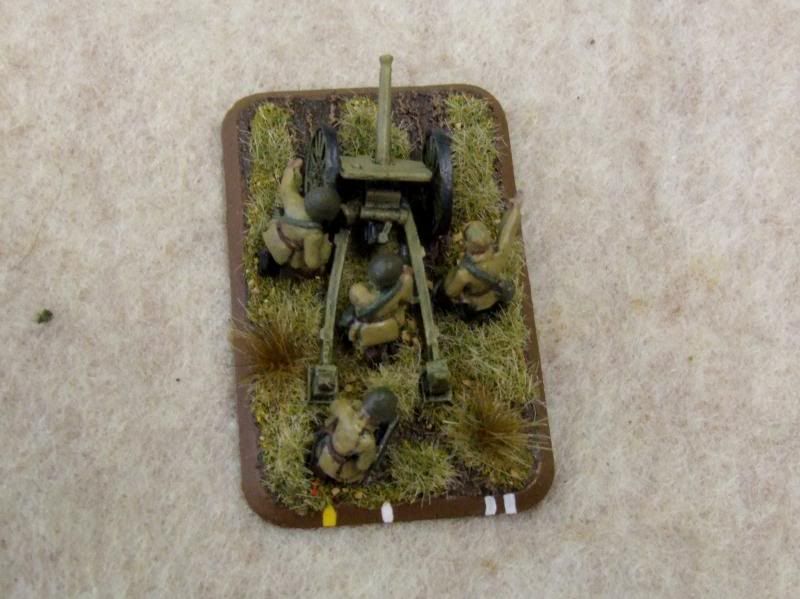
I look forward to expanding this list with some infantry and artillery...should allow be to any British on the West of Europe from D-Day to the end of the war.