Monday, July 29, 2013

WWPD Operation Overlord --- US 4th Armored Rolls on

My buddy Michael (Link2Edition) and I were at it again this weekend getting another campaign game in...possibly our last for this campaign as there are like 5 days remaining  :-(   This time we played at our local Hobbytown, where actually started playing Flames about 2 years ago.  The mission was Pincer (oh.....how I hate Pincer)

Jawohlt  Major....I will give as complete a report of the actions in Lestre as I can.

After defeating the American Rangers my FusilierKompanie was forced to pull back as the entire front collapsed...the remnants were merged with elements of the 2nd Panzer Division near Lestre with me leading a KampfGruppe of:

HQ:  2 PzIVH
1st Plt:  4 PzIVH
2nd Plt:  4 PzIVH
Recon:  1 Puma Patrol (2 Puma)
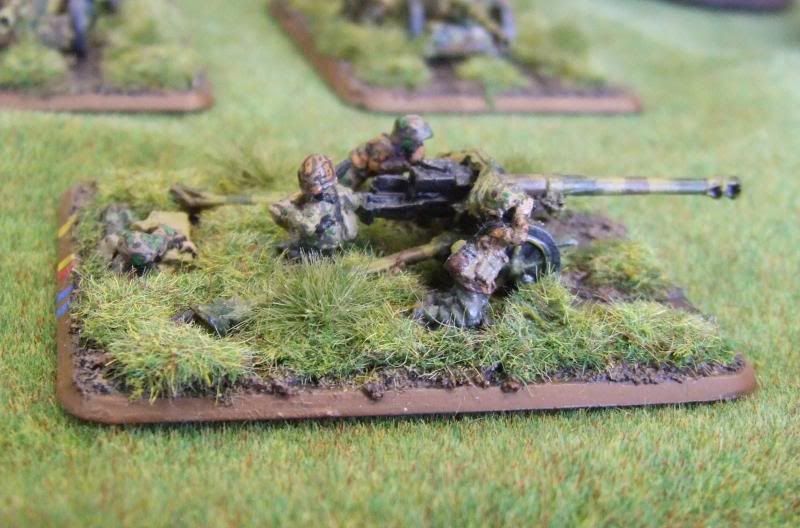
AA:  Armored Quad 2cm (2 ea)
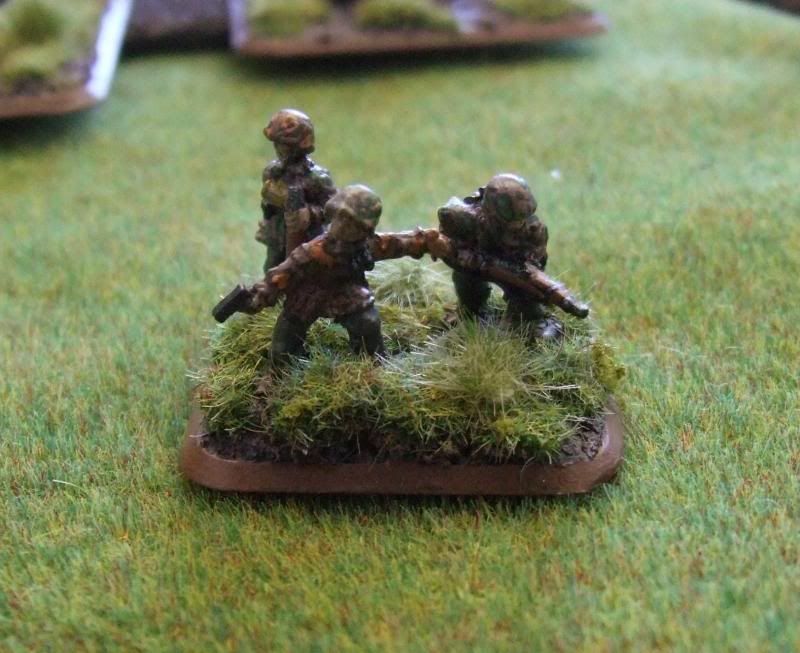
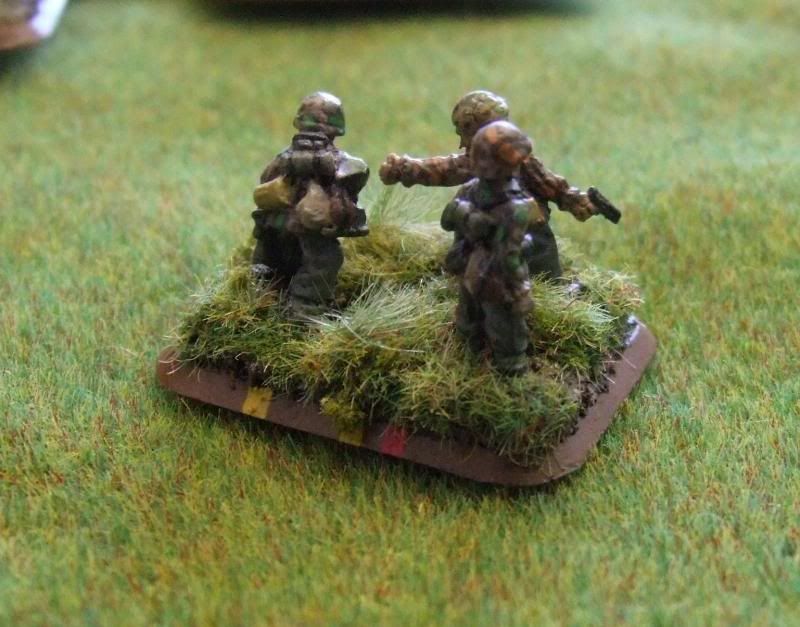
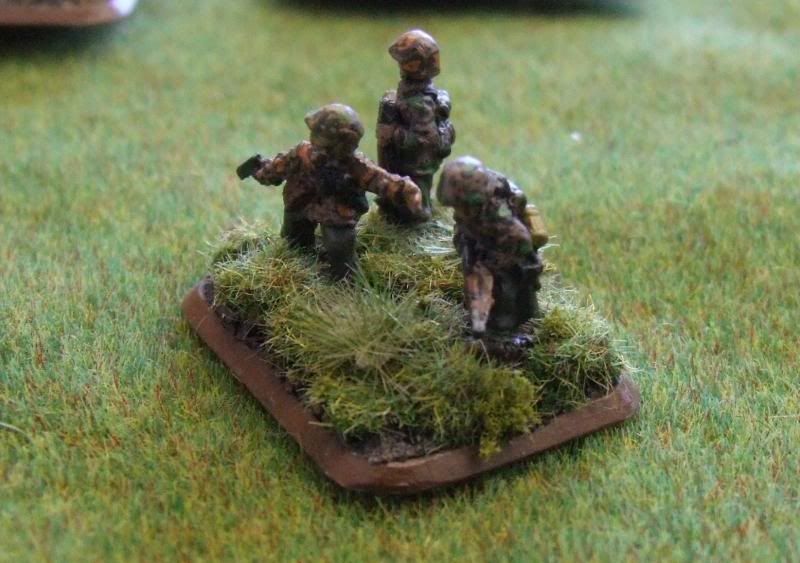
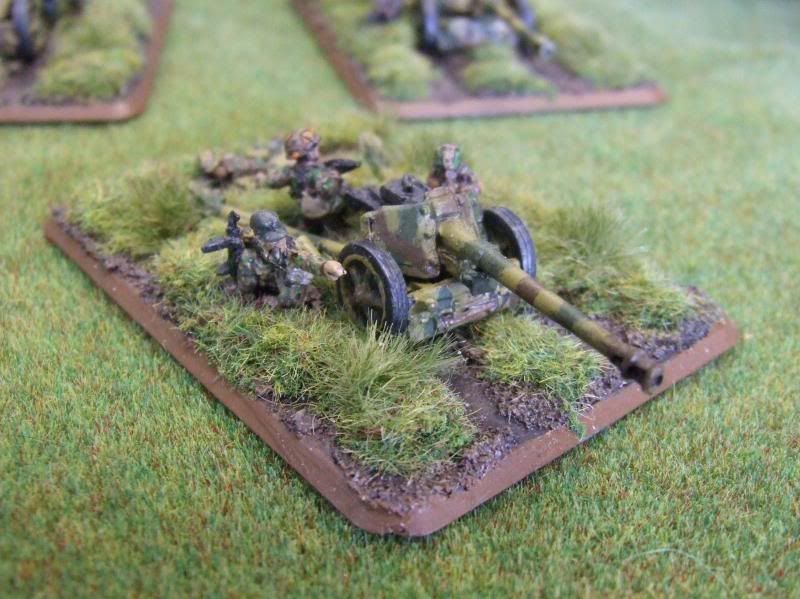
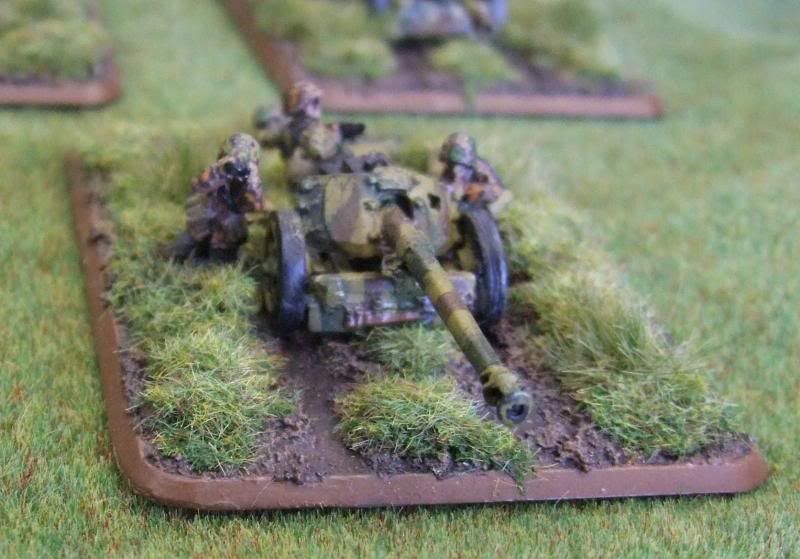
Infantry:  Gepanzerte Panzer Grenadier (3 Squads)
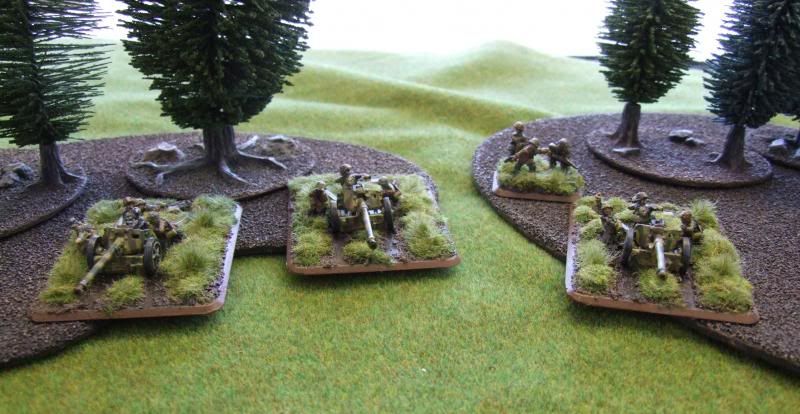
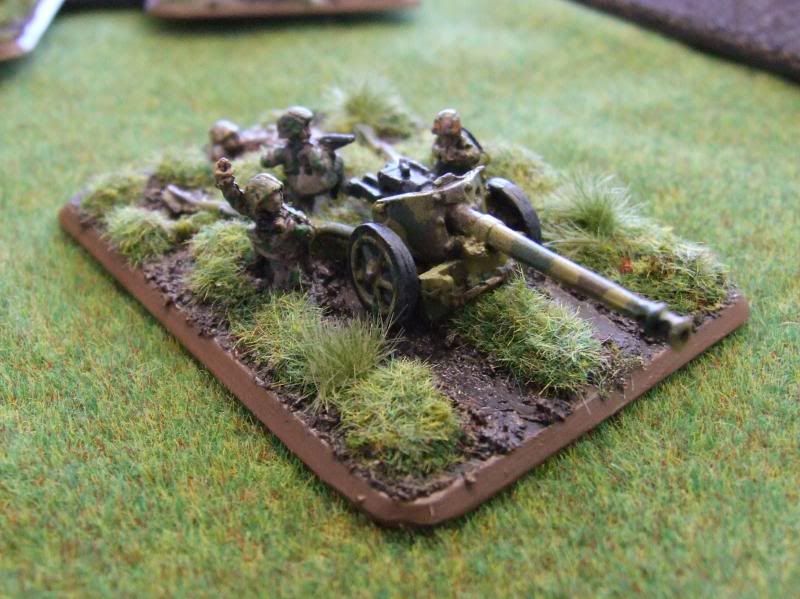
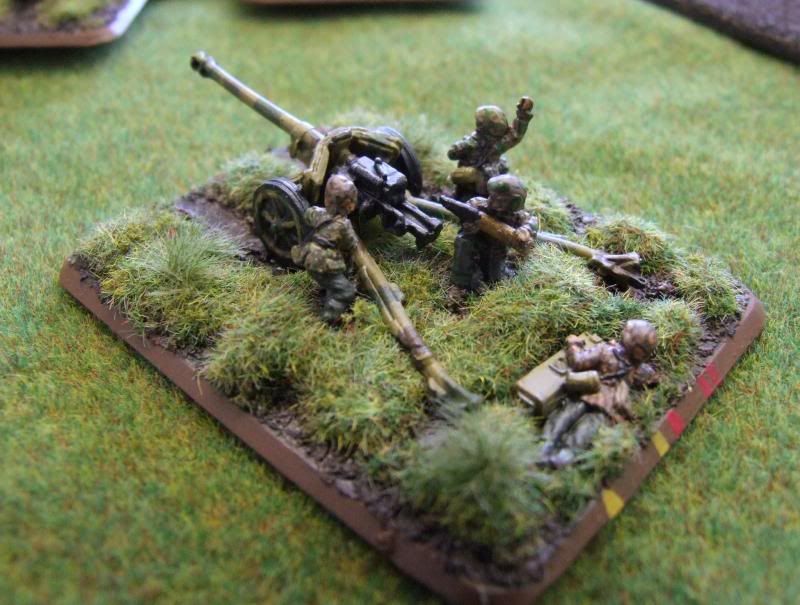
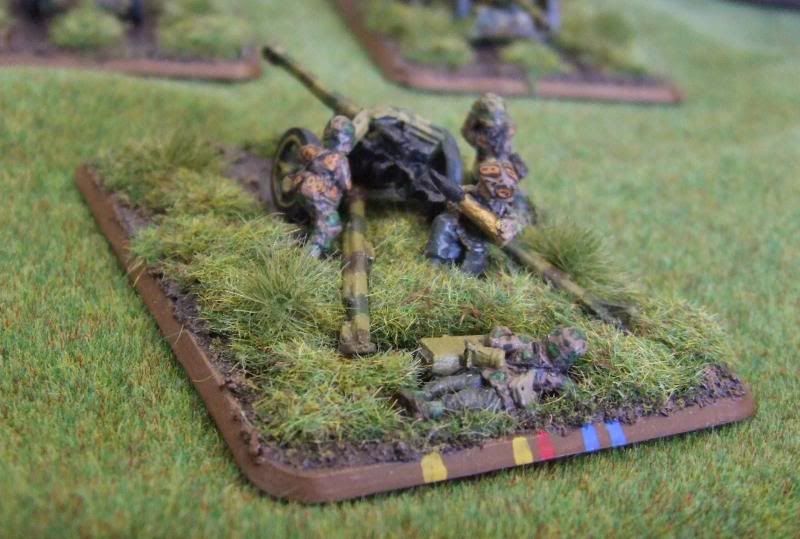
Artillery:  8 Panzerwerfer 42

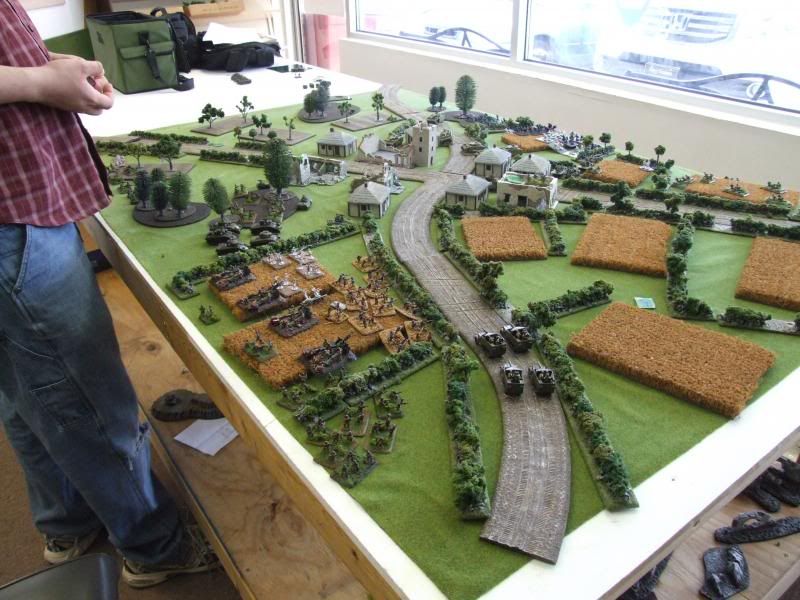
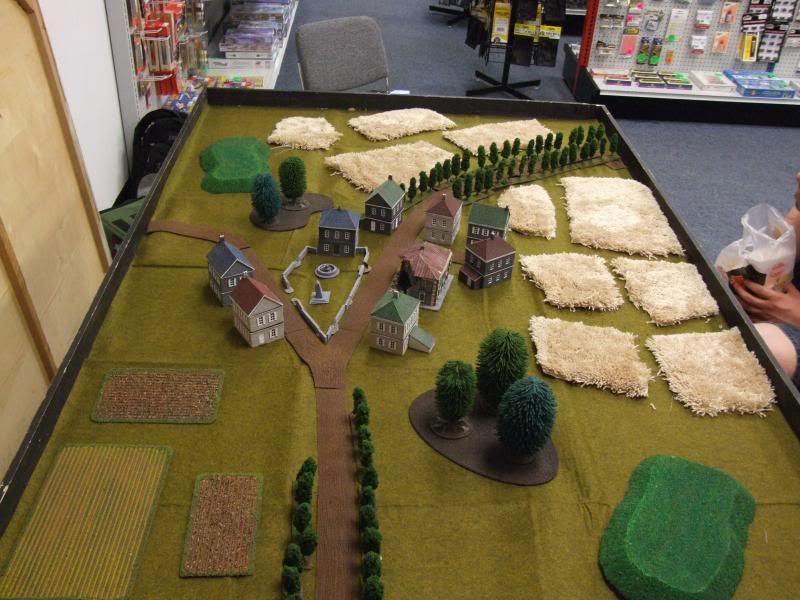
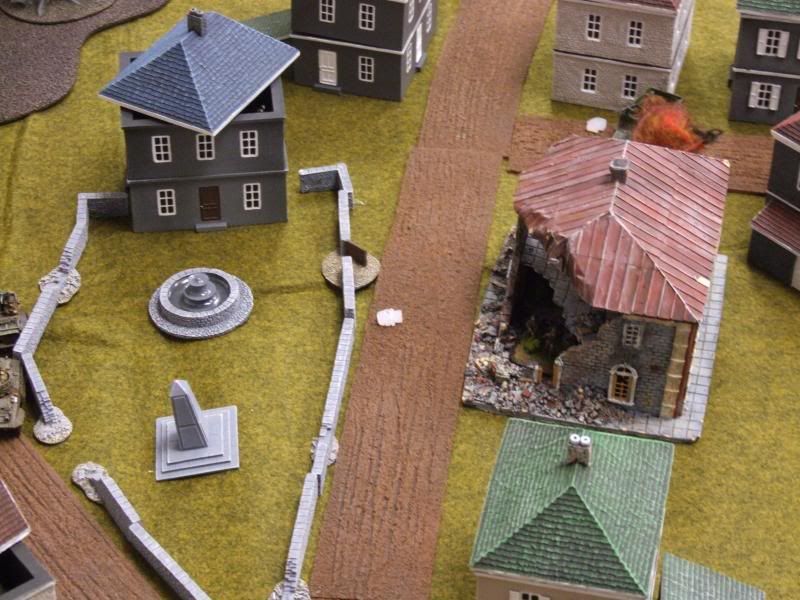
The little village we occupied was "quaint" as are most French villages....


Integration was going smoothly until we heard the rumble of tanks in the distance. 

The Artillery forward observers reported seeing an American Armored column head right for us.  Damn the luck!!!  At least half my force is back in the Division rear getting resupplied...."Quick call Battalion and have them send 2nd plt, the Pumas, and the AA back here as soon as they can."  I know it will be a while before we will see them.  We must make do with 1st Platoon the Infantry and the PanzerWerfers.

"Sir...the observers report seeing the following Ami's approaching:

- 2 Plts of Shermans (M4s)
- 1 Plt of Sherman 105s (3 ea)
- 1 Plt Armored Rifles (5 halftracks and the infantry)
- 1 Plt of Cav recon (2 jeeps and a Greyhound)
- 1 security section for Tank Destroyers....not sure which type"

All that headed straight for us....  Quick...to Arms!!!!  Get the infantry into their positions and the Panzers into ambush....get the rocket launchers manned....we will need them.
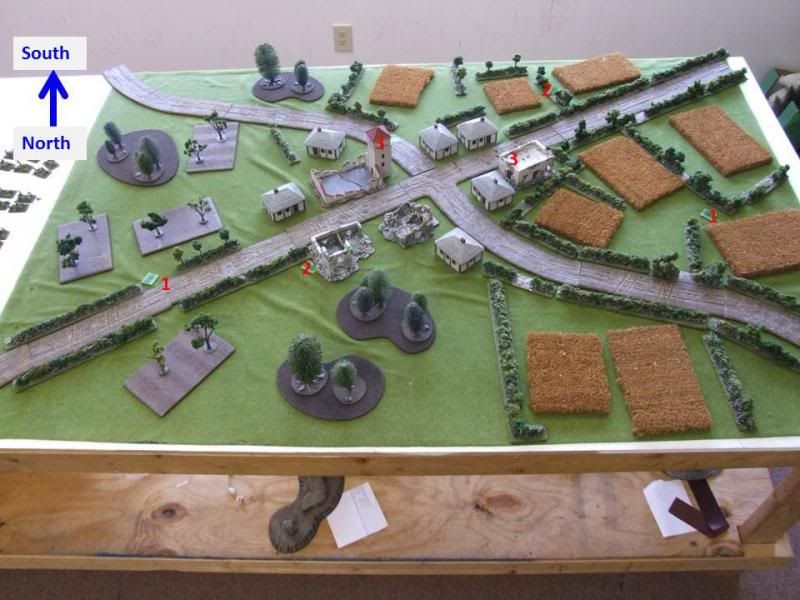
Setup:

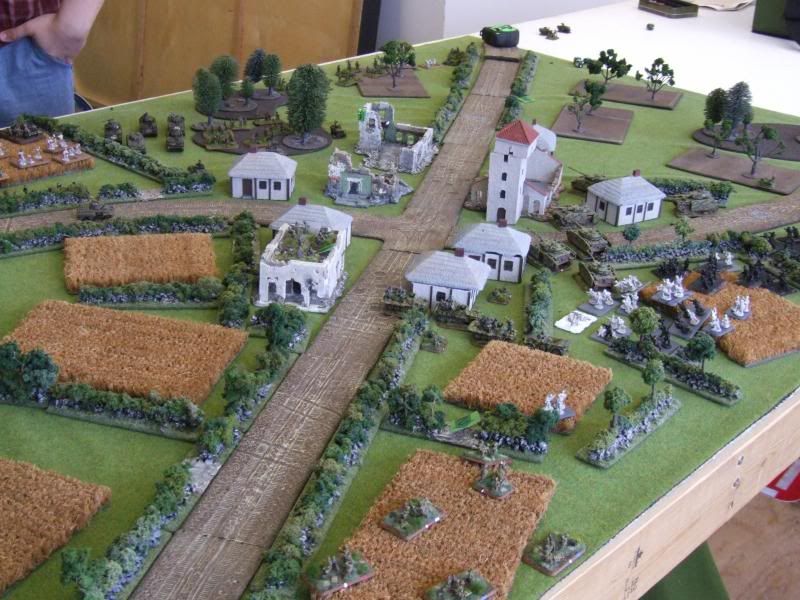
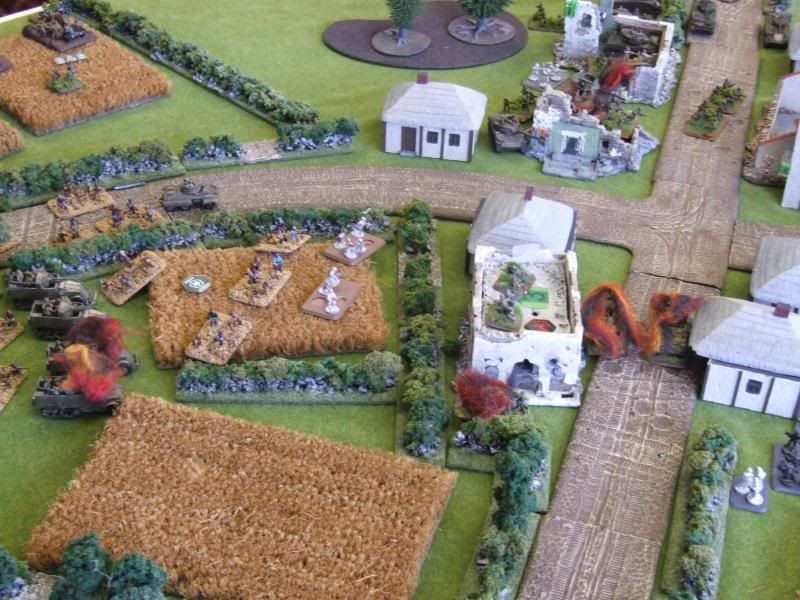
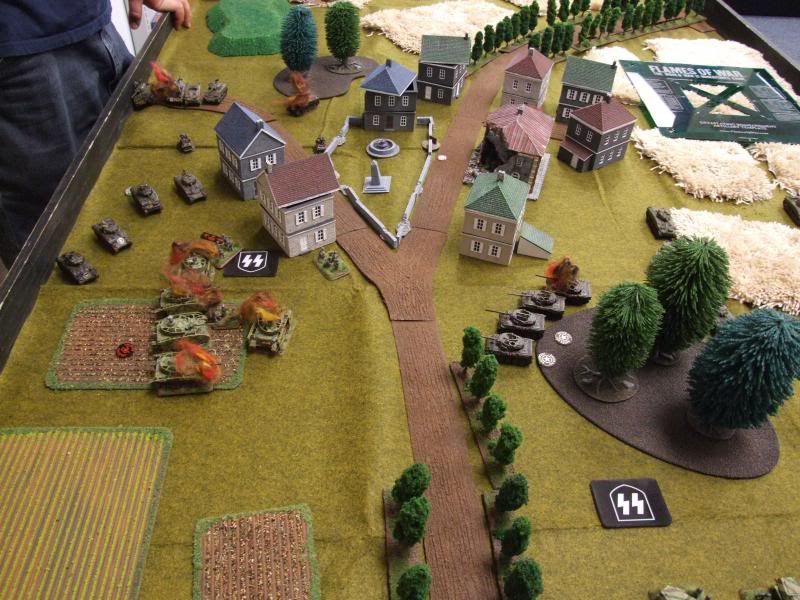
I started on the open end of the map (hoping to slow him down with terrain and arty until reserves arrived) with my Infantry dug-in on the left side blocking the edge and the buildings on the left and with the Panzerwerfers behind the hill and woods on the right and center...out of LOS for the most part.  one observer in each of the 2nd stories of the buildings by the infantry to spot the center and the left side...the Panzerwerfer Platoon Leader would spot the right side.  Michael Split his force...Infantry to the town and 1 plt of Shermans, the 105s and the Recon to the left and the rest to the right through the wheat fields.


Turn 1:

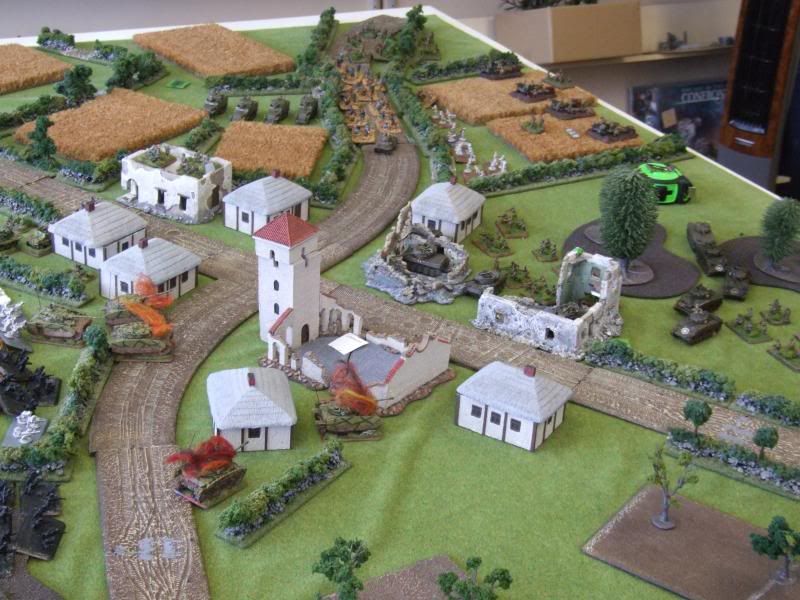
The Americans are moving forward...the 105s attempt to dislodge the Infantry with gunfire to no effect...  The American Sherman Plt on the left must have seen the glint of the lead observers' binos...and all guns fired at his position.  All attempts to reach the FO failed after that...Cruel payback for our taking out the Ranger FO a few days ago...fate I suppose.

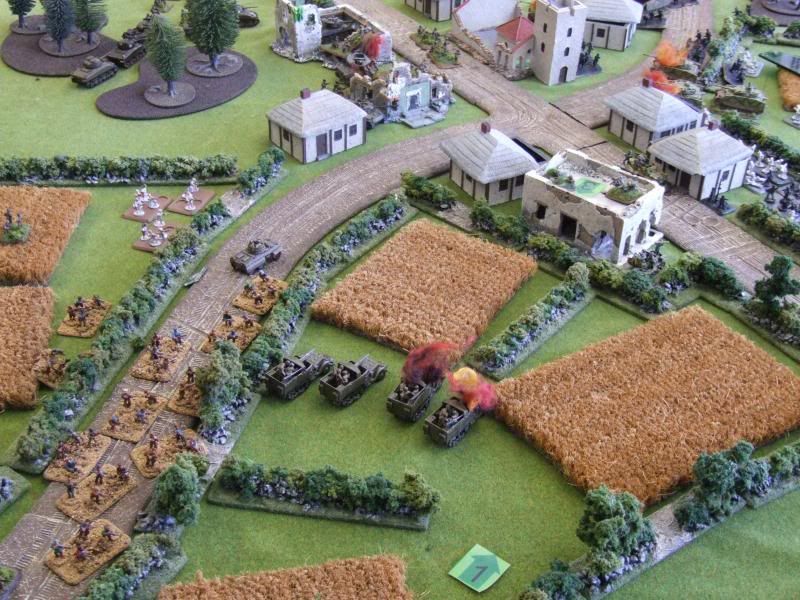
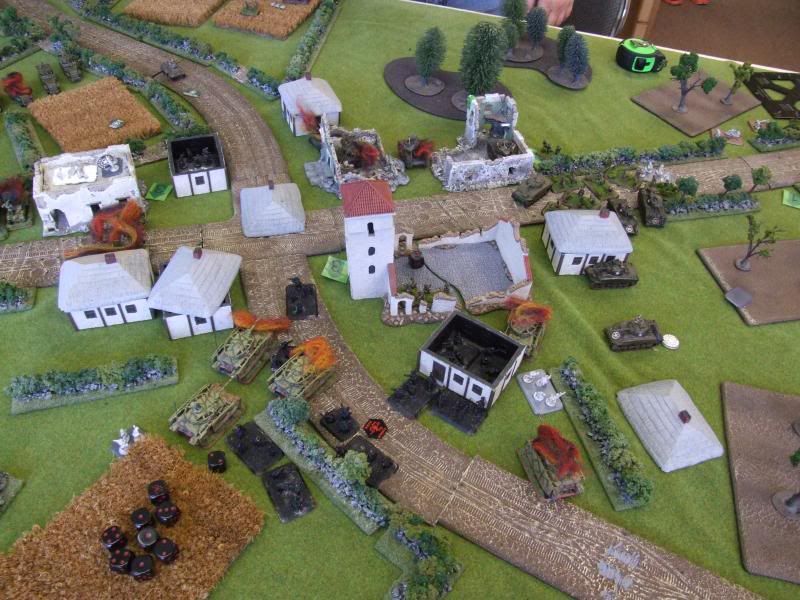
The halftracks move into the center of town  and the other tanks move through the wheat fields.


Tell the Panzers to attack from ambush and attack the 105s...tell the Observer to call for fire on the Infantry while they are in their tracks...


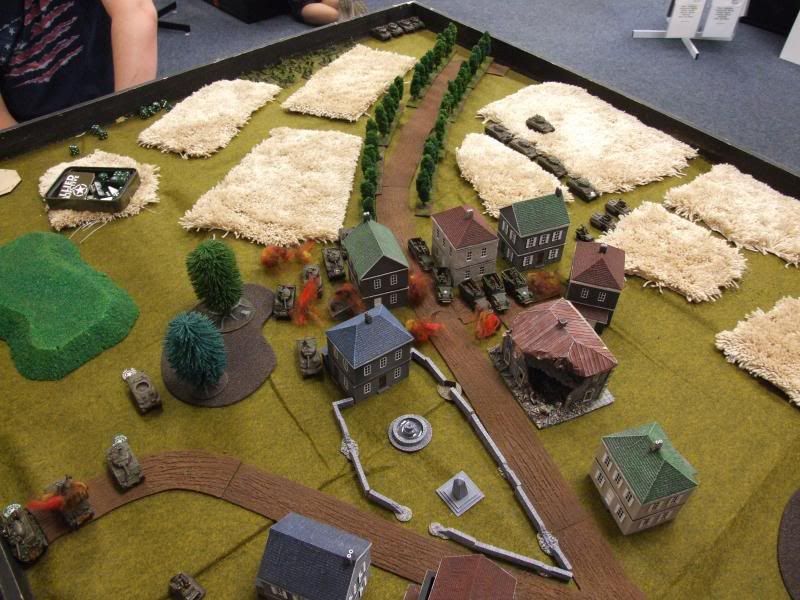
The scream of rockets fills the air and slams into the  Armored Rifles...destroying 1 halftrack and 2 teams and the infantry dismount and run for the buildings.  The PzIVHs pop from ambush and drive forward to engage the 105s, killing one, bailing the other 2 as well as an attached recovery vehicle....MORALE TEST!!!


Fritz!  I can see the wavering and wanting to run....wait...what ...Who is that?  NO!!! The American Commander is yelling at the to stay and fight!!!.  Mein Gott...they are returning to their tanks.  So close....
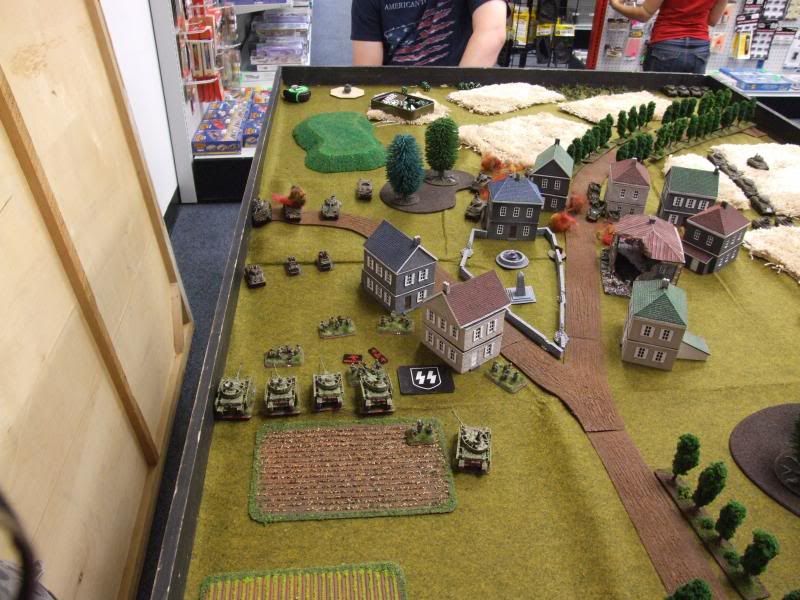
Turn 2

The Shermans on the left pushed forward to engage the PzIVs....Ach du Lieber!  Hellcats!!!! That security section on th eright has lead HELLCATS to the flanks of the Panzers.  This will not be pretty. The infantry are firing at the other observer...luckily the miss the observer.and mange to kill a team of infantry...luckily...rockets still have eyes at least into the town.   Have the rockets pummel the Infan....WHAM!!!!!!!!  Bail out...Bail out!!!!!! (A neat trick Michael used to target the FO...while explain at the end)

CiC PzIVH dies as well as another from the platoon with a 3rd bailing out.  If I jumped my CiC I would have forced a Morale Test for the platoon as they would then have been below half operational.  I decided not to push my luck.

From here Major I was without a tank and communications.  I couldn't make it to another vehicle to take charge.  All I could see was the Hellcats on the left taking out my tank and another from the Panzer platoon and bailing out a third.  I heard the rockets land in the town and then the screams of the Americans...knowing that a few more American teams fell.


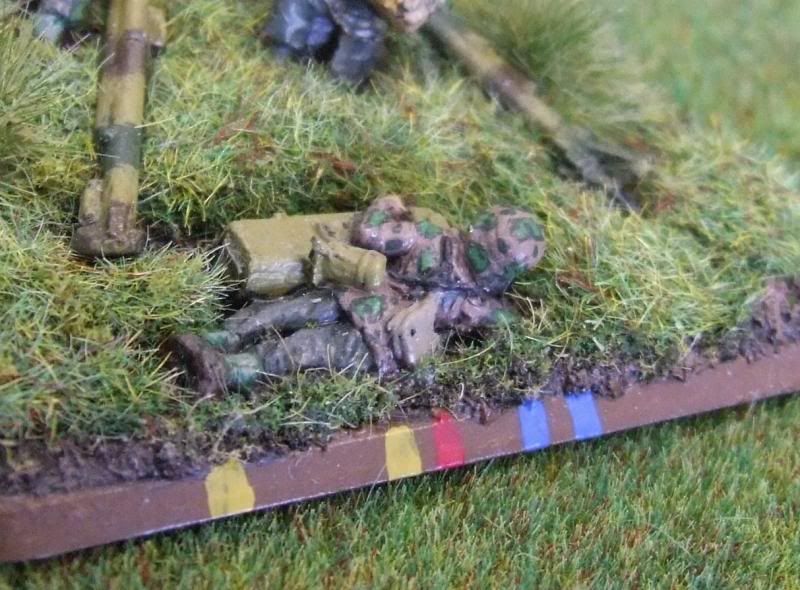
Mortar team ...Skullified!
Turn 3 & 4:

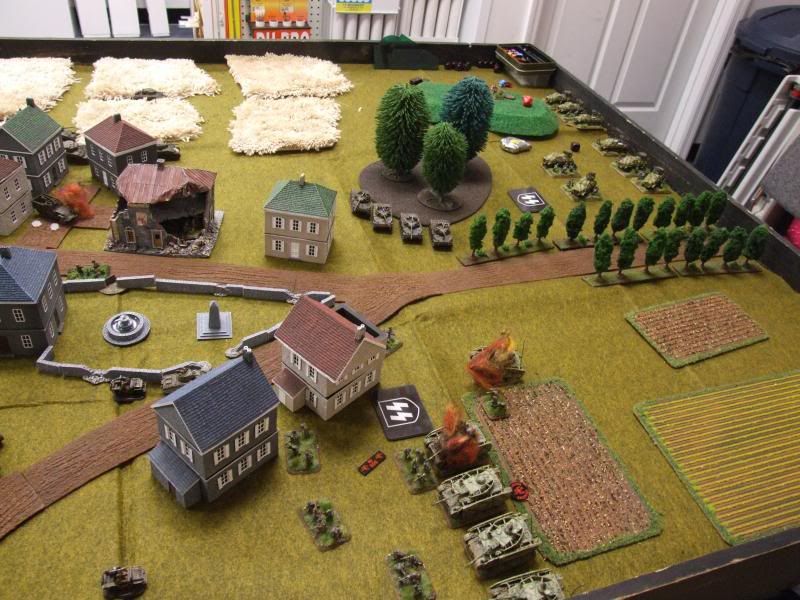
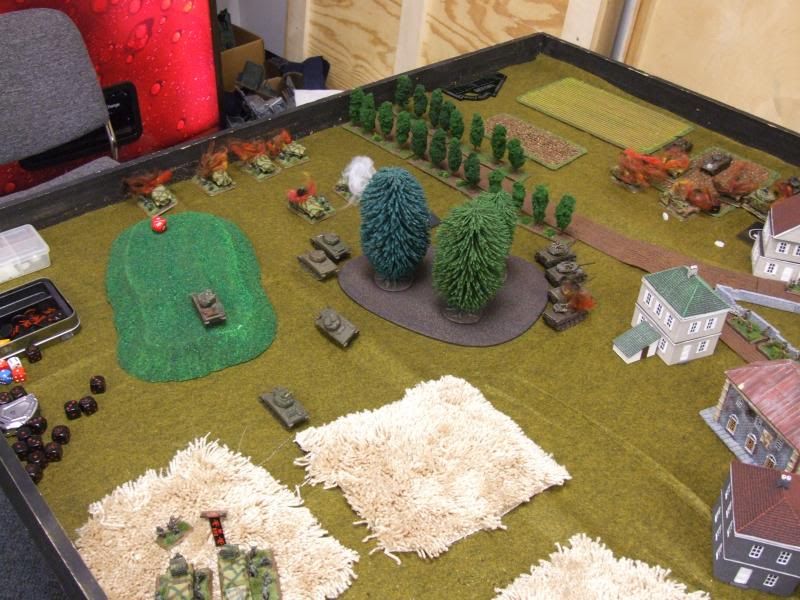
From here I could only watch the action on the left and as I tried in vein to move forward...my injuries were to great and I couldn't make progress to the remaining tanks before they died.  The order of events are a bit jumbled....I saw some of the Panzerwerfers take hits as well...and before they fired again killing a Sherman and more infantry (when do those American Infantry ever break and run!) I saw the Panzerwerfers engage the Hellcats with MG fire.  The PzIVs moved to engage the Hellcats and killed one at least...bailing 2 more...The Infantry will have to hold the Shermans until help arrives or the Hellcats die...whichever comes first.  The Shermans assaulted the Infantry and had to pull back before destroying them utterly, but he infantry stayed in the fight

Then I saw 2 more PzIVs  brew up and the 3rd bail out...but that sole remaining crew braved the odds and stayed with their tank.  After all this sir, that crew deserves an Iron Cross.


After that I passed out...and awoke to see my command destroyed....


I have to ask...where were my reserves...If I had them maybe.....

Aftermath:

6-1 victory to the Americans.  Another great game to Michael.  This one was interesting...It was the first time I ran all 8 Panzerwerfers and the Pie Plate of Doom.  Not bad...but at 405 points not worth it in this game.  If I dropped them and added a 3rd PzIVH platoon of 3 tanks at 270 and bumped the Infantry to Lehr without their transports and Kampfgrupped the 2IC and the 4th tank from the other 2 tank platoons I would have had 8 plats and more on the table at the start...maybe...

Also Michael did a neat little trick I mentioned earlier.  I had an FO near my Infantry.  He had his Cav section lift GTG on the Infantry...so they needed 5+ to hit.  The FO needed 6s.  He then targeted the FO forcing it to join the Infantry and now that combined platoon only needed 5+ to hit...nice way to at least get a chance of a hit on an FO...at least as long as they don't need 7+ as no hits can be assigned in that case.

Great game yet again...and I learned a little more.  Was good to play at the HobbyTown store again...Michael had bought a bunch of terrain at Historicon as well and he got to baptize it with fire.


Monday, July 15, 2013

WWPD Operation Overlord BatRep "Rangers Breakout"

The Americans have landed in force.  Somewhere...Somehow... SOMETHING went wrong.  We knew they were coming, but this?  Here?  All reports showed they would be invading farther North near the Pas-de-Calais.  Regimental Headquarters says this is a diversion, like Dieppe, and the real attack will still hit farther North.

This doesn't feel like any large scale raid!  At Dieppe they didn't drop paratroops like we fought near St-Marie- Elgise.  And now reports show armor and infantry landing en masse on the beaches.

Raid or not...we have been ordered to move to a little village crossroads in Le-Molay-Littoy and secure the crossroads and several key buildings and crossings through the maze like bocage.

******************** PRE GAME ***********************

This was a 1780 point Blind Domination mission between a German Fusilier Kompanie and a Ranger Company, both from the new DDay compilations. 

Germans (SonBae:):  9 Platoons
- HQ with Panzerschrek and Sniper
- 3 Fusilier Platoons
- Festungs MG Plt
- Festungs Mortar Plt
- 2 StuG Platoons
- Festungs AA (37mm en portee)
- Scout Platoon

Ranger Company (Link2Edition): 10 Platoons
- HQ (SMG)
- 3 Ranger Companies
- Partisan Plt (Fearless Conscript)  AKA "The Sparta-sans")
- Sherman Plt (5 tanks)
- M10 TD Platoon
- 81mm Mortar Plt
- Cav Recce Patrol
- Halftrack TD Platoon
- 105mm Arty Battery

The Battlefield:


Americans are the Attackers and choose to attack on the Northern long edge

******************************************************
Turn 1

Our scouts came into town just north of the crossroads, just west of the center of our sector and the reported hearing vehicles coming from east along the road.


German scouts head for the 3 point building south of the road while first securing the 2 point bocage crossing.  German FOs enter with the scouts and one just to the east of town.  Americans Cav patrol come barreling down the road to get the 3 pointers...the 105mm Arty FO is with the them.
 
Turn 2:
 
Our scouts have reported an American recce patrol along the road.  It also appears that some disorganized rabble is moving into the Bocage...French Partisans now doubt. and some American infantry in the center as well... Good thing our armored support is right behind them moving into the village right in the middle of our sector


Turn 3:
 
The American FO dismounts and moves into the steeple of the ruined church and the American Cav patrol heads to our scouts!  Americans begin to appear everywhere on the Northern edge...to include Shermans and what appears to be a security section for a tank destroyer unit....joy.
 
End of the Top of Turn 3
End of the top of turn 3 view from the west
 

Now it is time to act quickly....The AA guns move along buildings and one is able to swing around and bring its gun to bear on the recon patrol, killing a jeep with a .50 cal MG!  The StuGs open fire on the poor FO in the steeple...6 shots ring out and after the dust clears we see a pair of binoculars fall to the ground.  With the MG jeep down from the Cav patrol our scouts assault the Cav patrol and kill a mortar jeep and send the Grey hound running as fast as it's namesake.  And we secure the 3 point building!


Turn 4:

American M10s appear in the rubble on the North of town and kill 4 StuGs and send a 5th running...COWARD!!!  Halftracks and Partisans move deeper into the bocage with halftracks taking shots at the 3 point building to no effect.

End of the top of turn 4

Two AA guns move into the street to engage the M10s and the 3rd moves along side the 3 pt point to take on the halftracks.  Their shooting is outstanding, killing an M10 and 2 halftracks!  The remaining StuG kills another M10.  Mortars drop on the Partisans killing a few teams and the infantry move forward..2 platoons to the church and one to the support the scouts.


Turn 5

American return fire kills the AA guns and their platoon leader runs away.  We will deal with him later.  Partisans move closer as does a Ranger Company...both are contesting our control of the 3 point objectives!  The American Tanks move into the open..M10s and the remaining StuG trade shots to no avail. Mortar fire lands on the Partisans again, killing a teams.


End of Turn 5

Turn 6

All chaos breaks out...The Partisans assault the scouts and send them running, taking the 3 point objective in the process...as does the Ranger Company assaulting through a smokescreen into the Church...at least we still contest there.


End of the top of turn 6
The Fusilier Platoon attacks the Partisans and kicks them out of the building and out of range to contest control.  An assault back into the church fails, but we still contest.  The StuG kills another M10, but their platoon leader is made of sterner stuff than the 2 cowards I had who fled.  Mortar fire kills a third halftrack and a partisan....again the American platoon stays even when below half.  Time is running short


End of the bottom of turn 6

Turn 7

Americans move to secure and hold what they have and the Partisans try to assault again, only to be pushed back and to eventually run away entirely. The 3 point building is secure!  A panzerschrek takes aim at a Sherman and hits, only to have the crew bail out.  The remaining Fusilier Platoon attempts to assault the rangers in the church, after some success they are forced to retreat.


But that is enough!!!!!!  The Americans begin to disengage and pull back as our reinforcements can be heard in the distance.

Result...game called due to time with 5 Domination Points for the Germans and only 4 for the Americans with 3 points still contested.  resulting in a 5-2 Axis victory!  ( Germans lost 2 platoons, but since they had 9 platoons at start the first platoon lost doesn't count....so glad I didn't attach the HMGs out).

Great game with Michael as always!


Wednesday, July 10, 2013

German SS PaK40 Anti Tank Gun Platoon


As part of the SS Grenadier Company Box, I got 3 of the metal PaK40s.  I did this up ahead of the infantry because I was testing out options for the last local tournament and these were a strong contender...so had to get them painted  :-)

I learned a really good tactic in how to use these bad boys when running my Grenadiers.  Typically my Infantry platoons are dug-in and holding a position.  If I place these guns right behind the infantry and where they can see about 3-4 inches in front of the infantry, they can stop an armored assault.  Remember, in Flames of War Gun teams can shoot over dug in stationary infantry...you can do the same with HMG teams to stop infantry assaults.  Placing them behind the infantry can help protect the gun teams...especially if they are in a tree line.  Now this is a totally defensive tactic, but is effective.
 
Over to the painting.  The crew are pretty standard.  The gun itself was not TOO difficult to put together.  Wheels, gun trails, barrel, and gunshield.  Hardest part was getting the gunshield and the barrel on and aligned.  It took a little fiddling and some extra filing, but worked out in the end.

These were some of the first figures I painted on the stand instead of painting each figure separately on a nail.  I did paint the gun separately though.  It was MUCH faster to paint the crew/infantry on the stand. 
 
The first step in painting with figures on the stand is to apply all the basing materiel first.  By this I mean everything short of the grass/flock. This is important in that if you wait till the very end, after you you have painted everything, you stand the chance (and in my case the certainty) of getting some of the basing materiel on the painted models.  If you do all the pumice, sand, grit, etc... up front you can be a little rougher to ensure good coverage.  And if something does gets on the model, it is easy to clean up since the figure hasn't been painted yet...it is A LOT less nerve wracking to put the basing materiel on first.  When I painted my models first and then glued them to the stand and then applied my basing mix...I was ALWAYS worried about getting something on my works of art.  Now its no sweat.
 
 
One thing to keep in mind if you have figures that are laying on the ground.  On these I glued the lying down figure on the base first then built up the dirt and other basing materiel around him.  This makes him look like he is much deeper in the dirt/grass than the other figures on the base.  What I have taken to doing with laying down figures and mortars is to leave them off of the base, but glue down all the other fig res in their proper positions.  I then pumice/sand/grit the entire base.  When that materiel is dry I then go in and glue the laying down figure on top of the dirt, very much like he would do in real life.


This lifts that figure up and prevents that quicksand look I have here...oh well, live and learn.  You have to experiment to grow I guess.

Another thing about applying the models to the bases and applying your texture before you paint is that you can add tire tracks very easily.


 This is something I do to all my guns.  A gun position is a messy sight.  Mud is churned up where ever the crew walks and where the gun is brought into position.  I first layout the position, sort of a dry fit and mark on the base where the guns tires are as well as where the spades on the trails will hit. Now extend the mark of the tire location off of the front of the base and off the back or side if you want to continue it off the base. Makes sure the tire marks go off the edge of the base so you can see where they.  Taking off the base isn't necessary as those tracks would be chewed up by the crews movements on the position.   Next is to glue down the crew, but not the gun.  Apply your texture ground base mix of choice and where you made the where the spades on the gun trail hit the hit make a little mound of mix just behind the mark and on the mark apply the mix a little thinner.  This shows the spade digging into the ground.  To make the tire tracks just trace along the marks you made to where the tire stopped or off the back edge with the back of an old paintbrush.  Right behind the breach shouldn't have any tracks as this is the busiest location on the gun and the tracks would be chewed up quickly.  the paint it up with darker colors t the bottom...and if you want to show wet dirt/mud just add a little gloss varnish to the mix.

Next step is to prime the stand.  I then paint my dirt and then the troops. 

For the troops I used my standard Waffen SS color palette below.


For the guns I used the same color palette I used for the with the armored AA halftracks. The guns were all airbrushed with Vallejo Middlestone (882) as a base color and then stripes of German Camo Medium Brown (826) and Reflective Green (890) were handpainted. I wasn't comfortable getting into some of the tight spaces and awkward angles with my airbrush yet...YET.

The tires were basecoated 950 black and then lighter colors built up with drybrushing ....first 862 Black Grey 836 London Grey then finally 870 Medium Sea Grey.


Now the pictures! 

Platoon Leader:


Gun #1:


Gun #2:
 
 
Gun #3:


Not too happy with the fleshtones. I was running low on my 869 Medium Flesh and was trying to stretch it to make it last and added too much of the 955 Flat Flesh (which I had plenty).  When I have time I will touch these guys up.

Thanks for stopping by and if you have any comments questions please leave below!