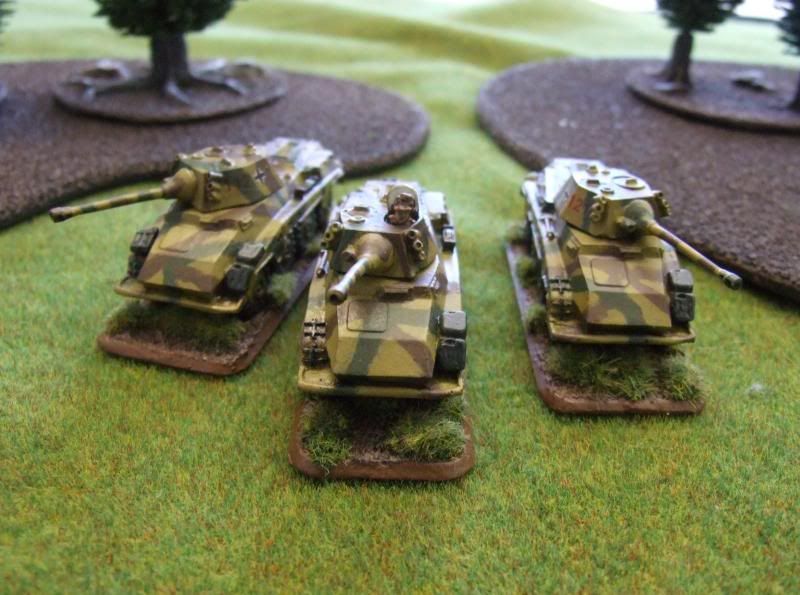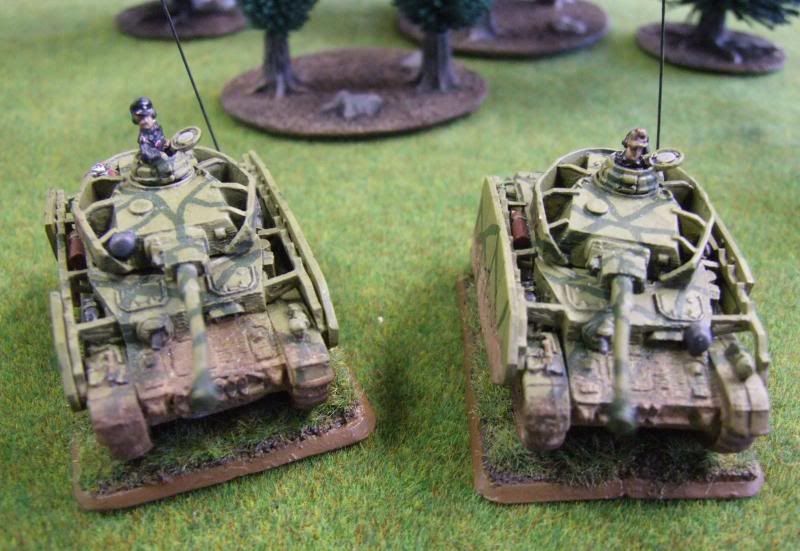
I did these guys a long time ago, but for some reason I never took pictures of them. Well...that has been rectified!
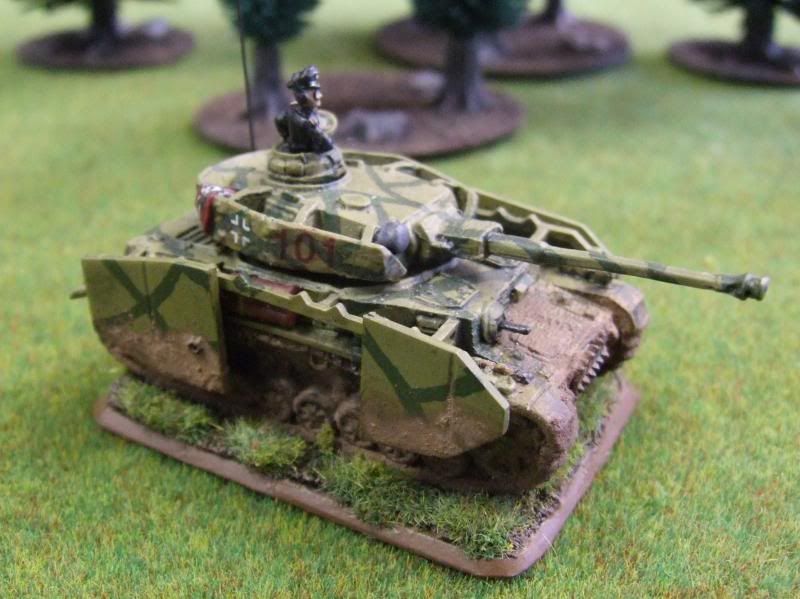
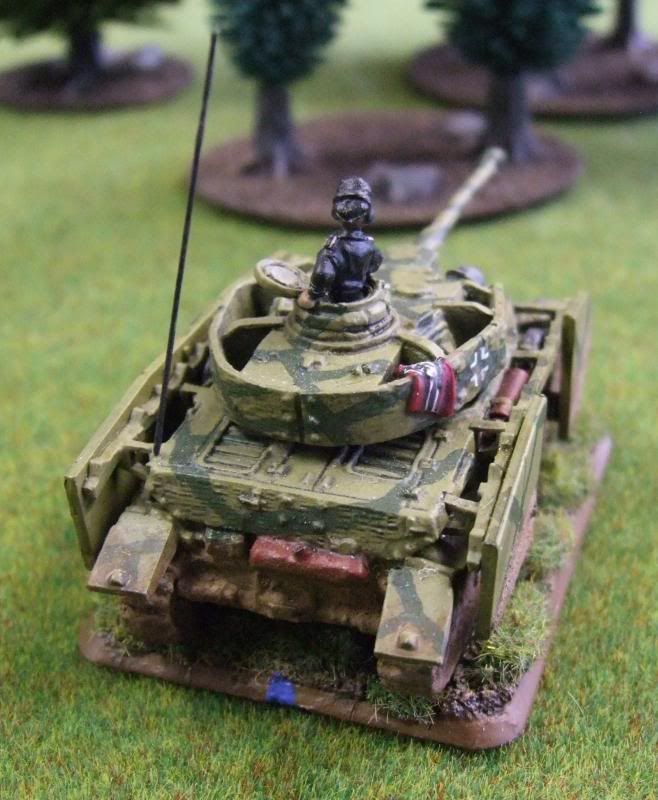

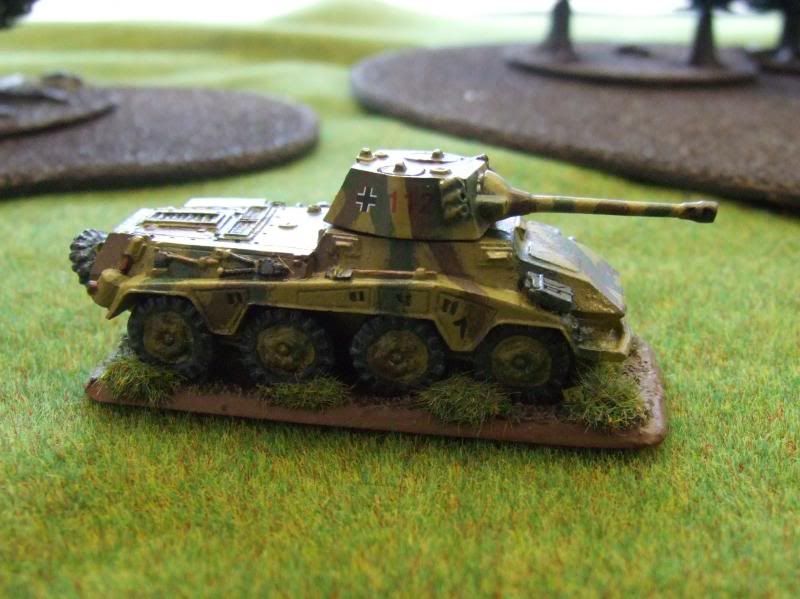
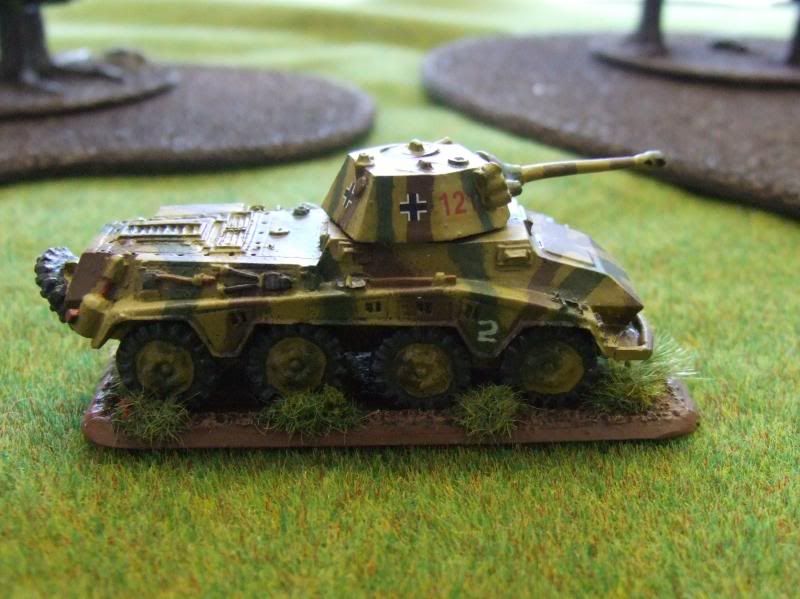
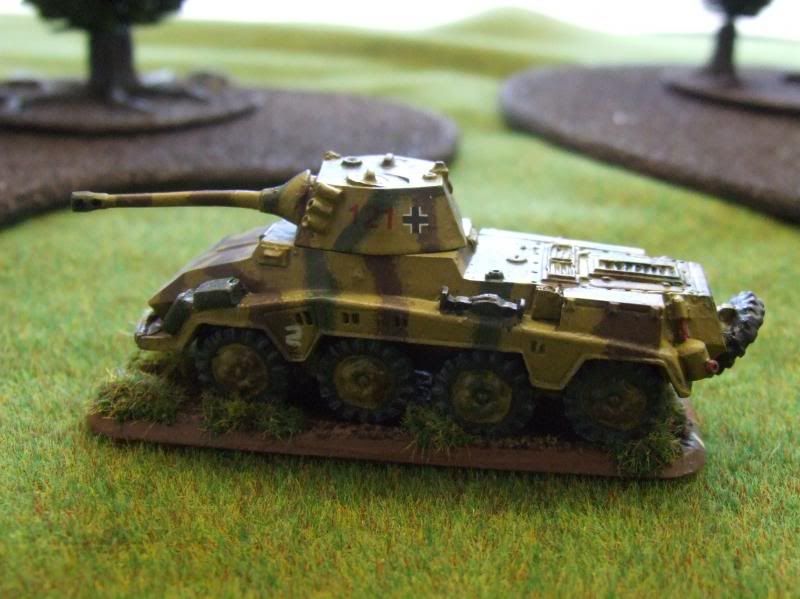
I used the same techniques and colors as I did with the past few vehicles. The vehicles were all airbrushed with Vallejo Middlestone (882) as a base color and then stripes of Reflective Green (890) were added by hand. I was still new at airbrushing when I did these and wasn't comfortable with airbrushing the green lines at that point. The flag on the Commander's turret was handpainted using 826 German Camo Medium Brown as a base coat and then 957 Flat Red, 951 White and 950 Black. The tracks were painted 950 Black and then a heavy drybrush of 982 Cavalry Brown with a final light drybrush of 863 Gunmetal Grey and a #2 pencil. Then I gloss coated the model, applied decals and a pin wash to bring our the models' details, a little touch up where the pinwash was too heavy and then flat matte coated the model.
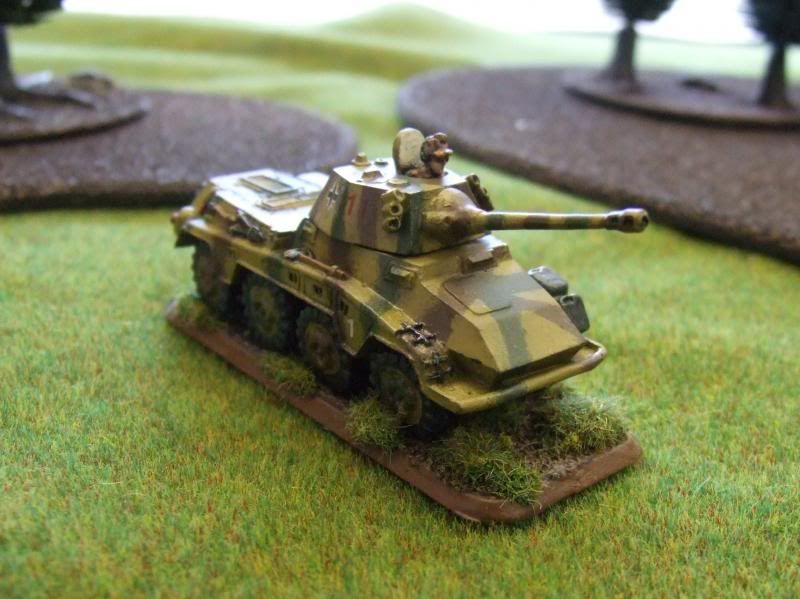
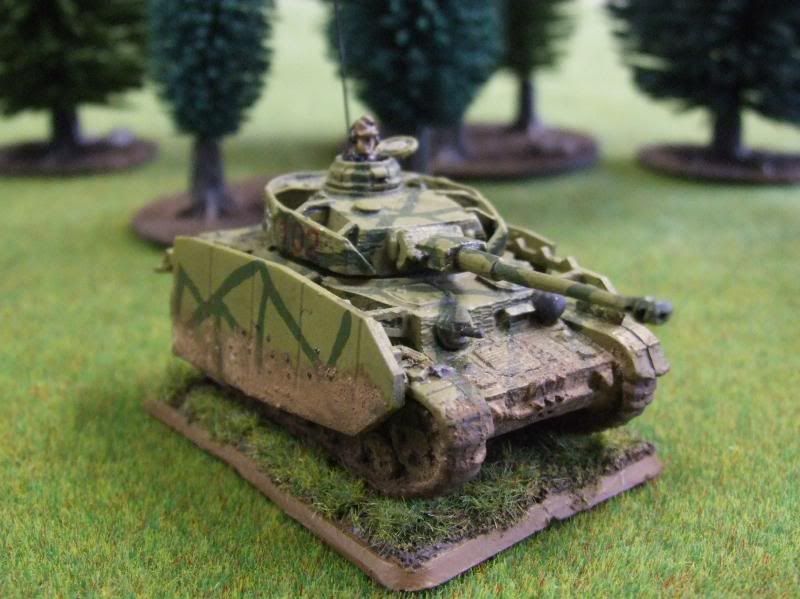
I used MIG pigments for the dirty look. When you layer pigments start with the lighter color first as it represents the dried dirt...darker, wetter colors are always on the top and towards the bottom. I applied MIG Pigments to the lower hull using a MIG Fixer and then MIG Europe Dust P028 pigment. When that dried, I started to apply Track Brown (P414) below and on top of the Europe Dust pigment...and heavy in the tracks. This is all the freshly chewed up earth that hasn't had a chance t dry and the upper layers is that dirt/mud that has splashed high and dried. Finally, I applied another coat of MIG Fixer over the pigments I had placed earlier to lock them down really good. When that was dry, I gave it a final Flat Matte finish. Don't be alarmed when you apply fixer or varnish and the pigments get all wet and dark...as they dry they will go back to their true color.
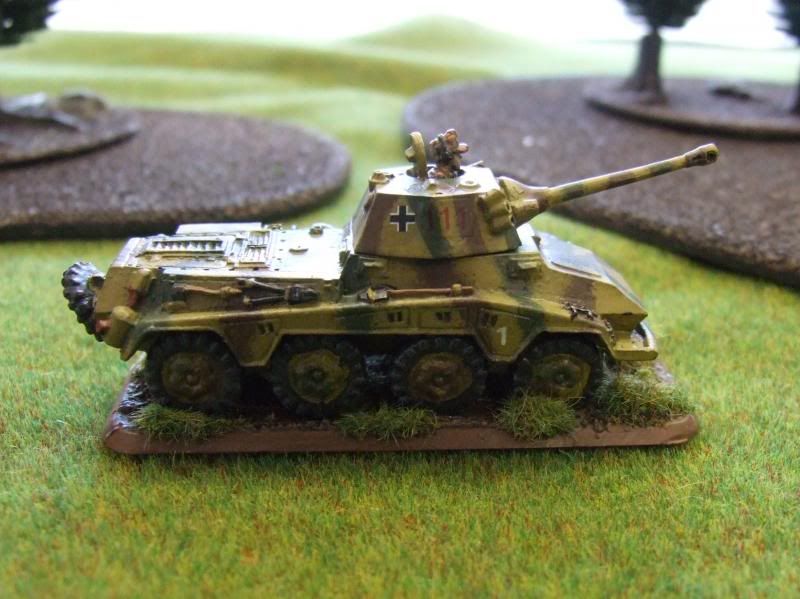
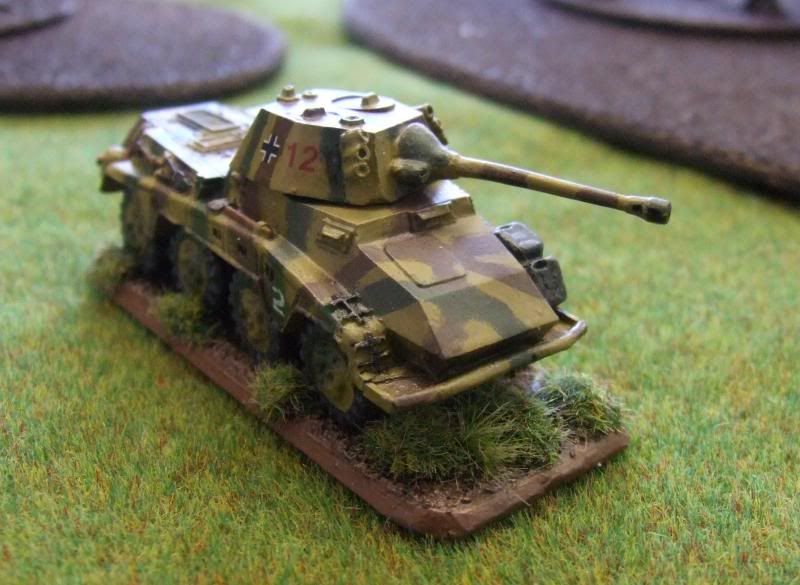
The number decals on the turret were homemade using Testors decal paper. and the crosses are from Battlefront.