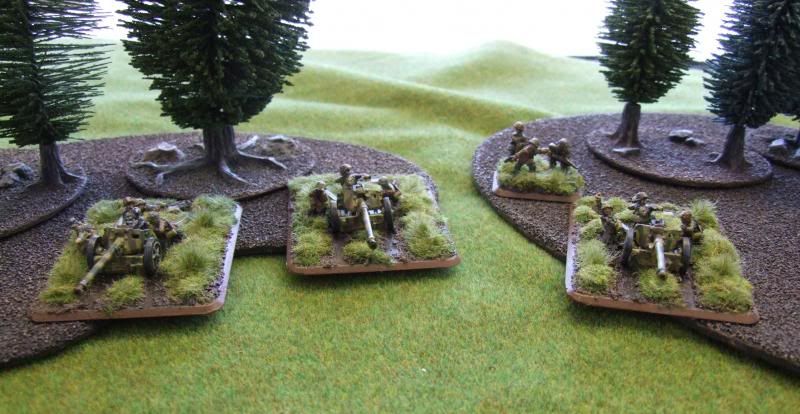
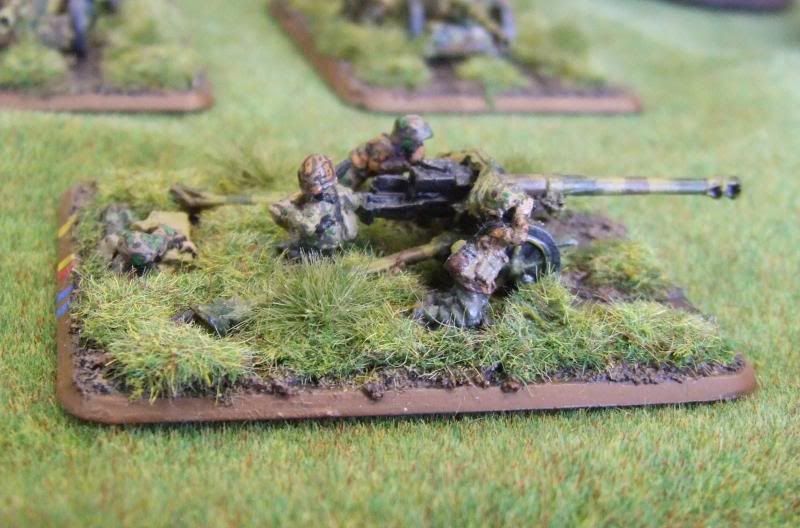
As part of the SS Grenadier Company Box, I got 3 of the
metal PaK40s. I did this up ahead of the infantry because I was testing out options for the last local tournament and these were a strong contender...so had to get them painted :-)
I learned a really good tactic in how to use these bad
boys when running my Grenadiers.
Typically my Infantry platoons are dug-in and holding a position. If I place these guns right behind the
infantry and where they can see about 3-4 inches in front of the infantry, they
can stop an armored assault. Remember,
in Flames of War Gun teams can shoot over dug in stationary infantry...you can
do the same with HMG teams to stop infantry assaults. Placing them behind the infantry can help
protect the gun teams...especially if they are in a tree line. Now this is a totally defensive tactic, but
is effective.
Over to the painting.
The crew are pretty standard. The
gun itself was not TOO difficult to put together. Wheels, gun trails, barrel, and
gunshield. Hardest part was getting the
gunshield and the barrel on and aligned.
It took a little fiddling and some extra filing, but worked out in the
end.
These were some of the first figures I painted on the
stand instead of painting each figure separately on a nail. I did paint the gun separately though. It was MUCH faster to paint the crew/infantry
on the stand.
The first step in painting with figures on the stand is
to apply all the basing materiel first. By this I mean everything short of the grass/flock.
This is important in that if you wait till the very end, after you you
have painted everything, you stand the chance (and in my case the certainty) of
getting some of the basing materiel on the painted models. If you do all the pumice, sand, grit, etc...
up front you can be a little rougher to ensure good coverage. And if something does gets on the model, it is easy to clean up since the figure hasn't been painted yet...it is A LOT less nerve wracking to put
the basing materiel on first. When I painted my models first and then glued them to the stand and then applied my basing mix...I was ALWAYS worried about getting something on my works of art. Now its no sweat.
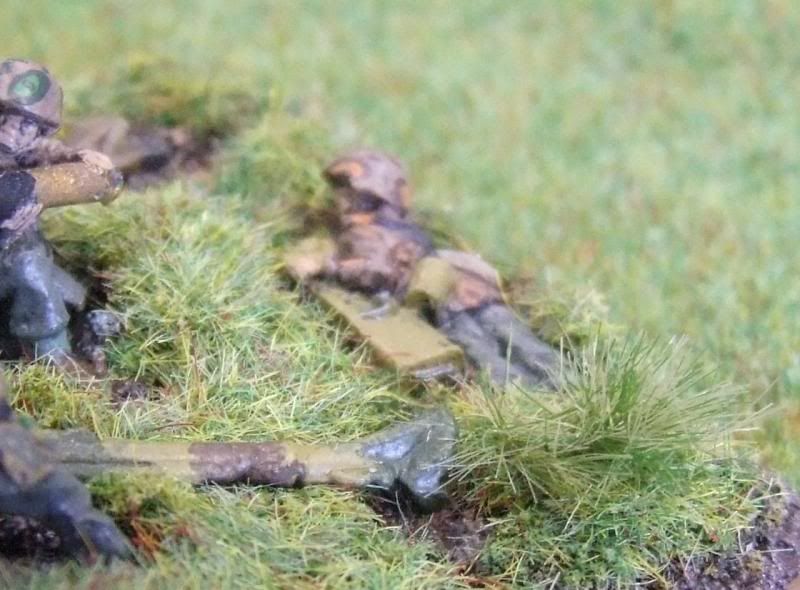
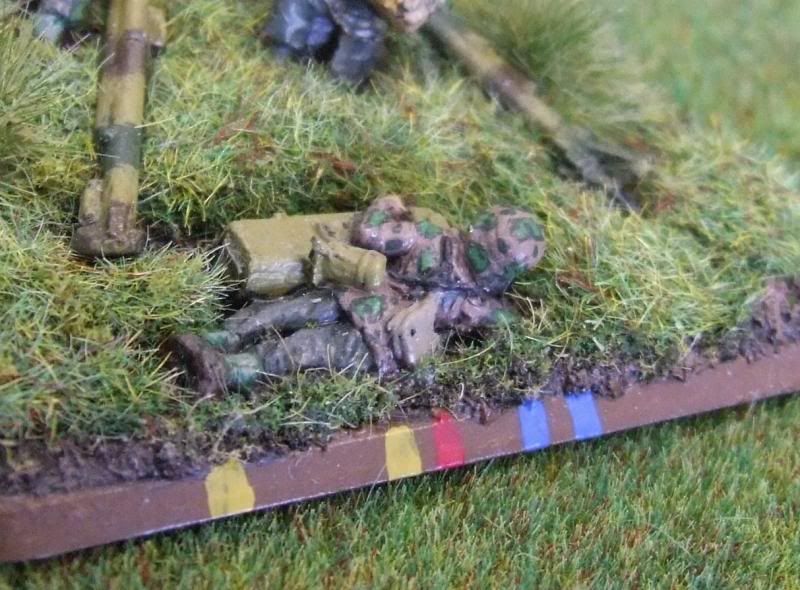
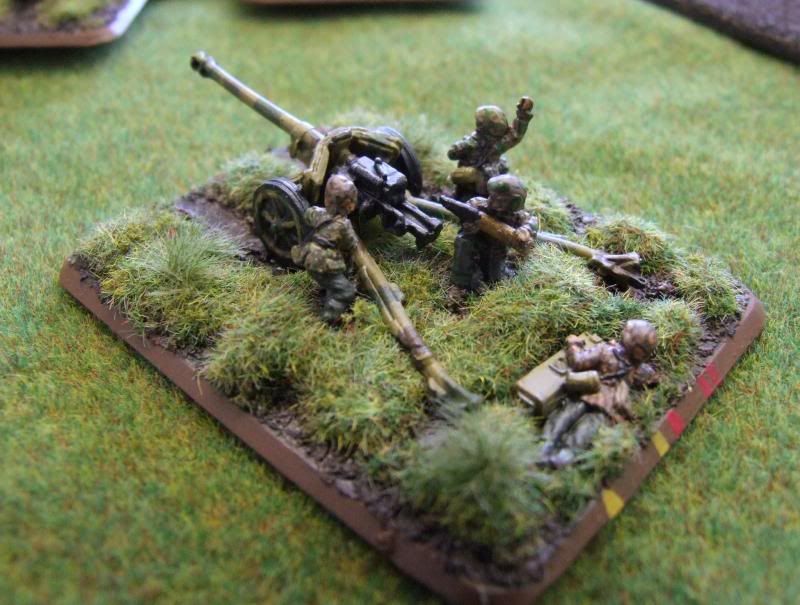
One thing to keep in mind if you have figures that are
laying on the ground. On these I glued
the lying down figure on the base first then built up the dirt and other basing
materiel around him. This makes him look
like he is much deeper in the dirt/grass than the other figures on the
base. What I have taken to doing with
laying down figures and mortars is to leave them off of the base, but glue down
all the other fig res in their proper positions.
I then pumice/sand/grit the entire base.
When that materiel is dry I then go in and glue the laying down figure on
top of the dirt, very much like he would do in real life.
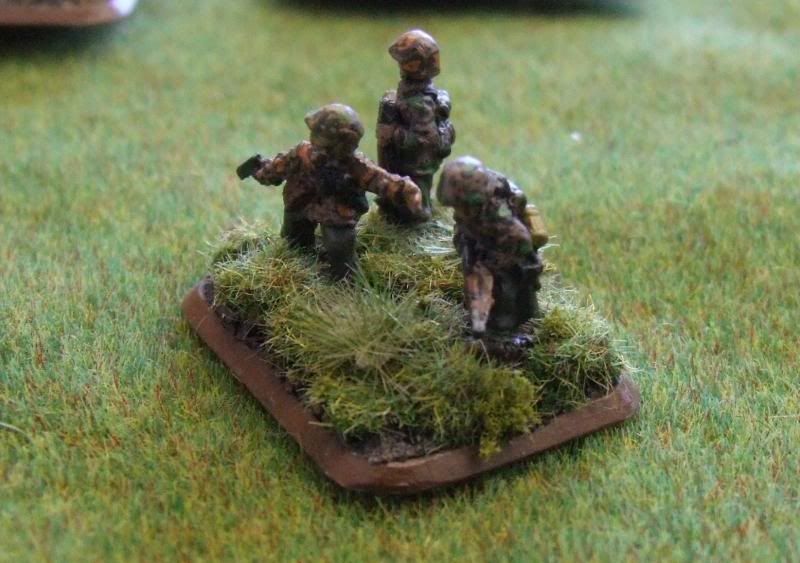
This lifts that figure up and prevents that quicksand look I have here...oh well, live and learn. You have to experiment to grow I guess.
Another thing about applying the models to the bases and applying your texture before you paint is that you can add tire tracks very easily.
Next step is to prime the stand. I then paint my dirt and then the
troops.
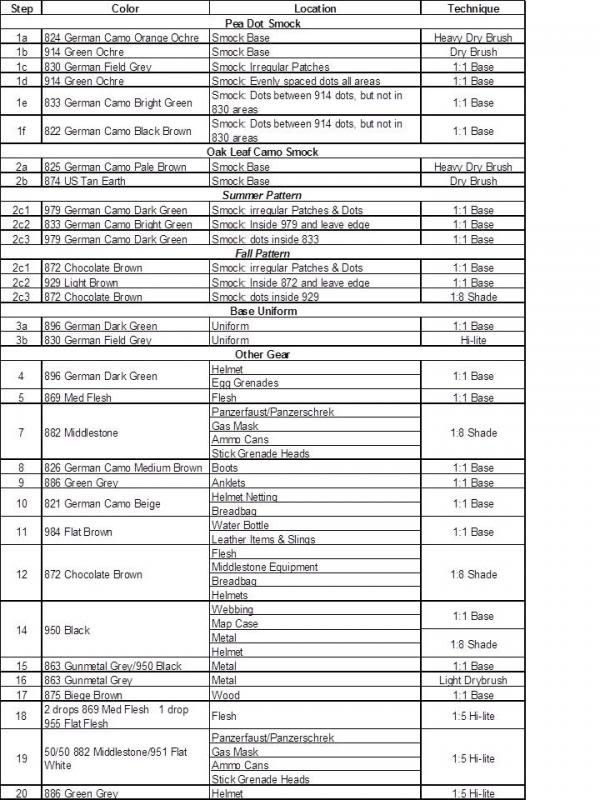
For the troops I used my standard Waffen SS color
palette below.
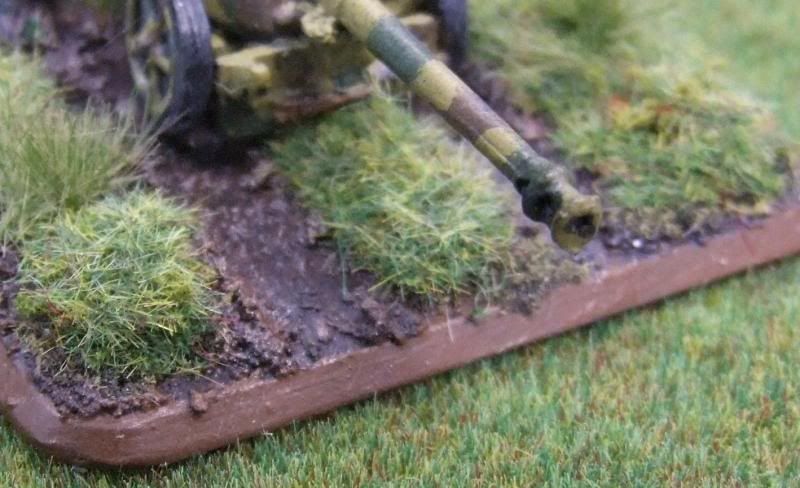
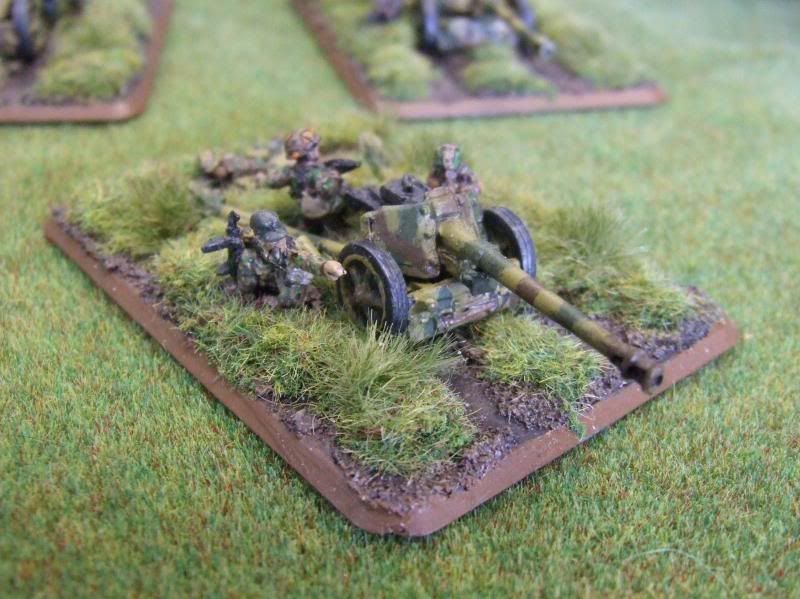
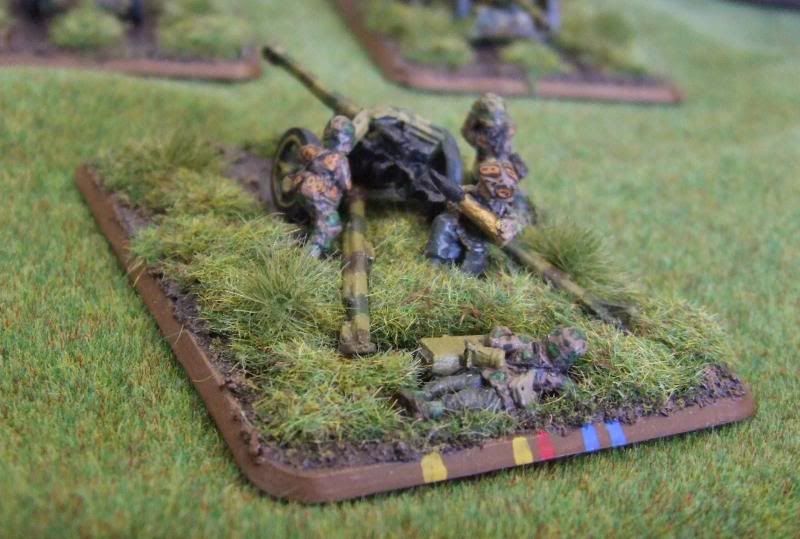
For the guns I used the same color palette I used for the
with the armored AA halftracks. The guns were all airbrushed with Vallejo Middlestone (882) as a base color and then stripes of German Camo Medium Brown (826) and Reflective Green (890) were handpainted. I wasn't comfortable getting into some of the tight spaces and awkward angles with my airbrush yet...YET.
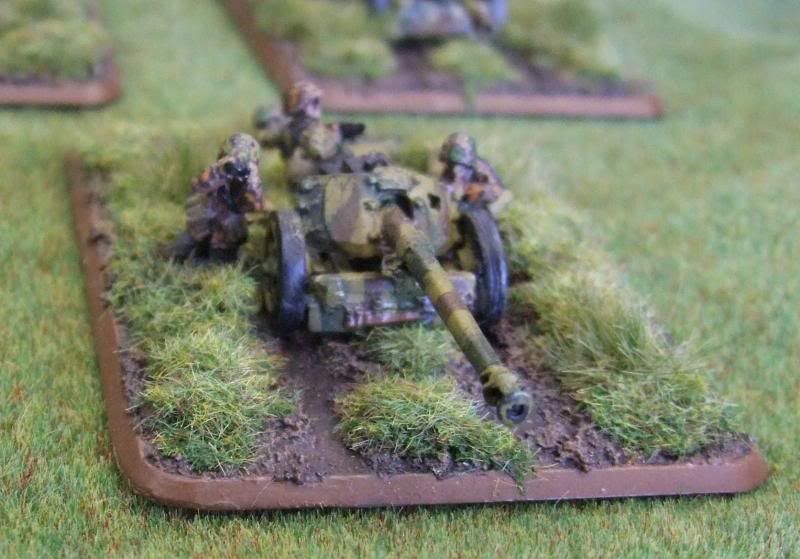
The tires were basecoated 950 black and then lighter colors built up with drybrushing ....first 862 Black Grey 836 London Grey then finally 870 Medium Sea Grey.
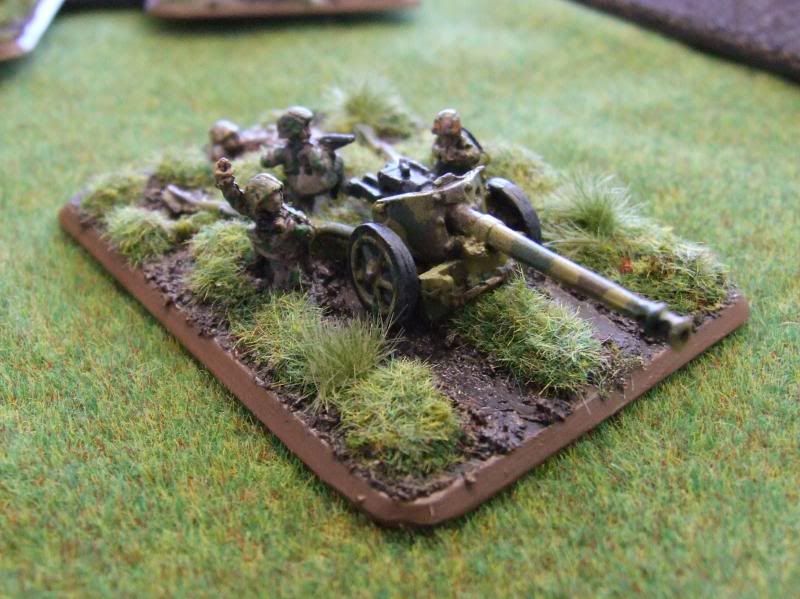
Now the pictures!
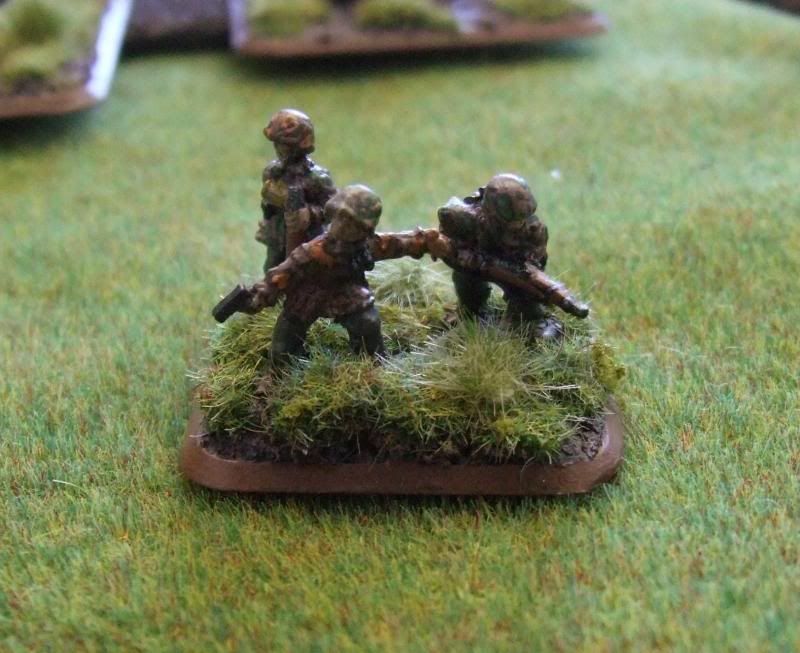
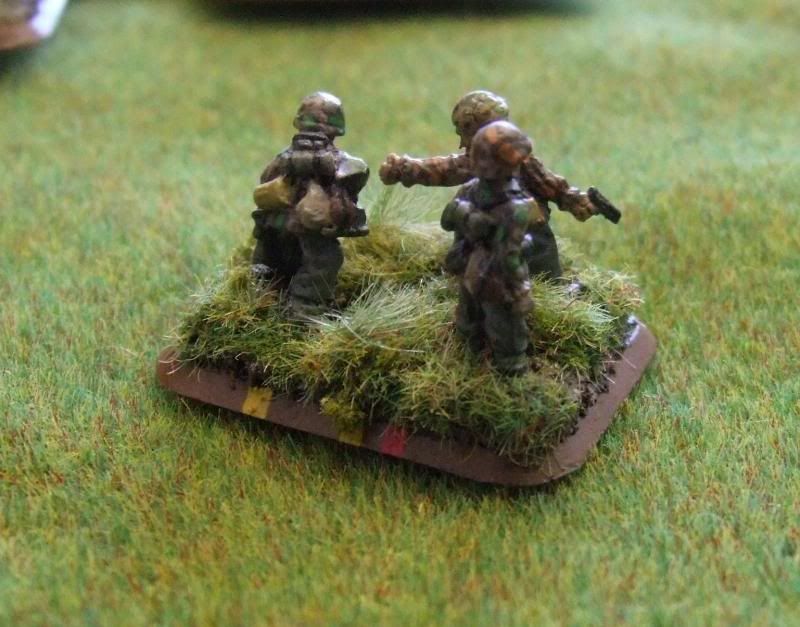
Platoon Leader:
Gun #1:
Gun #2:

Gun #3:
Thanks for stopping by and if you have any comments questions please leave below!
These look really good.
ReplyDeleteVery nice. Allied commanders will always give the PaK40 the degree of respect it deserves...
ReplyDelete