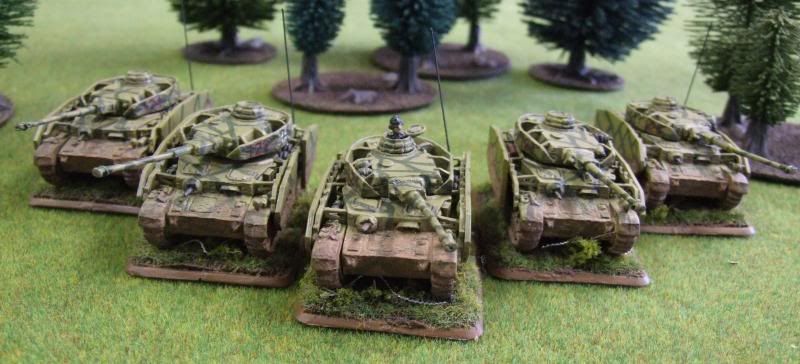
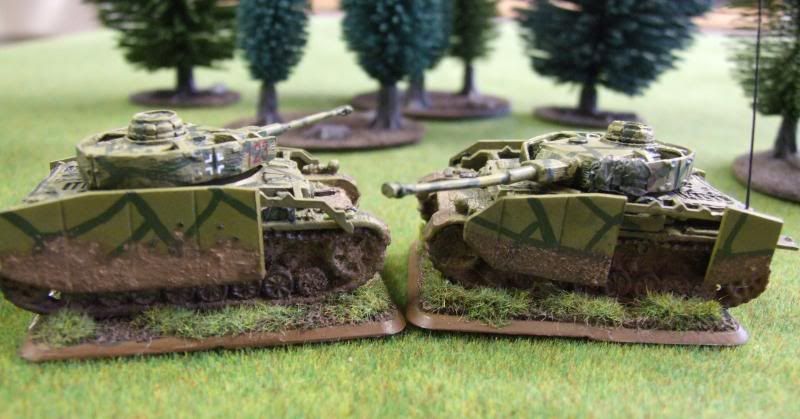
Continuing to post pictures of the rest of my Germans that have managed to escape the grip of my total obsession of posting pictures of all my models......my 2nd PzIVH Platoon.
You can see the Command Section and the 1st Platoon elsewhere on my blog (although I have rebased the 1st Platoon since these pictures were taken)
Platoon Leader:
1st Section:

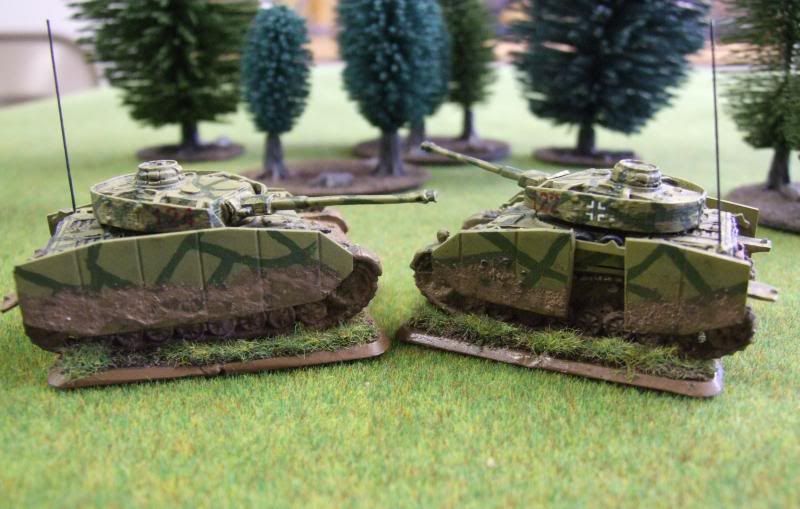
2nd Section:


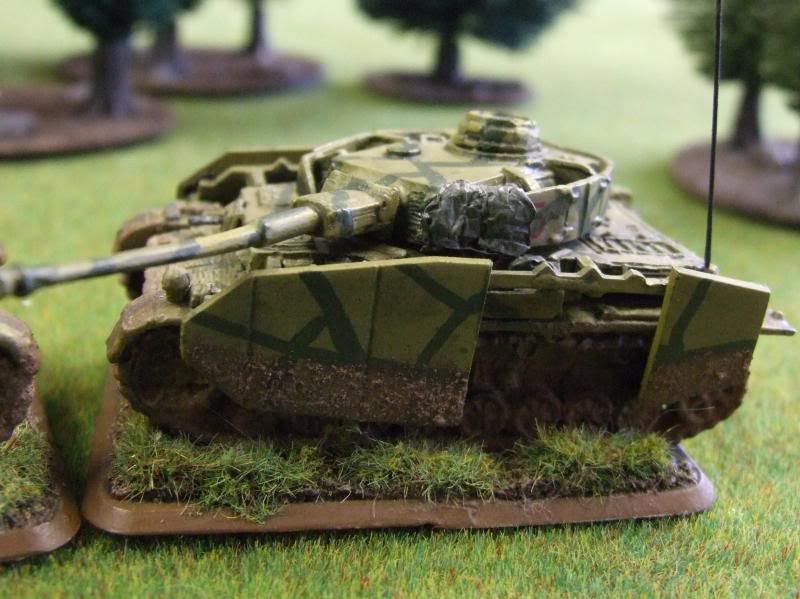 |
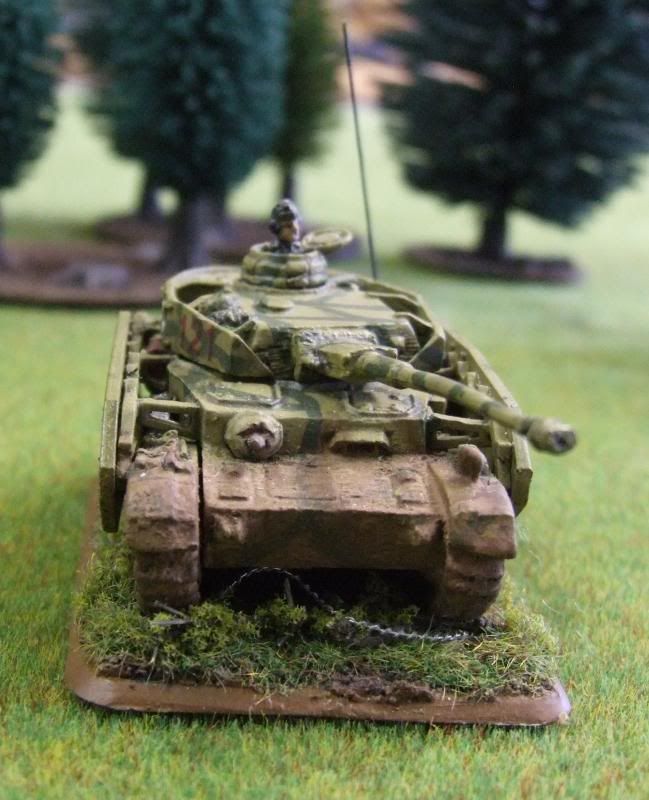
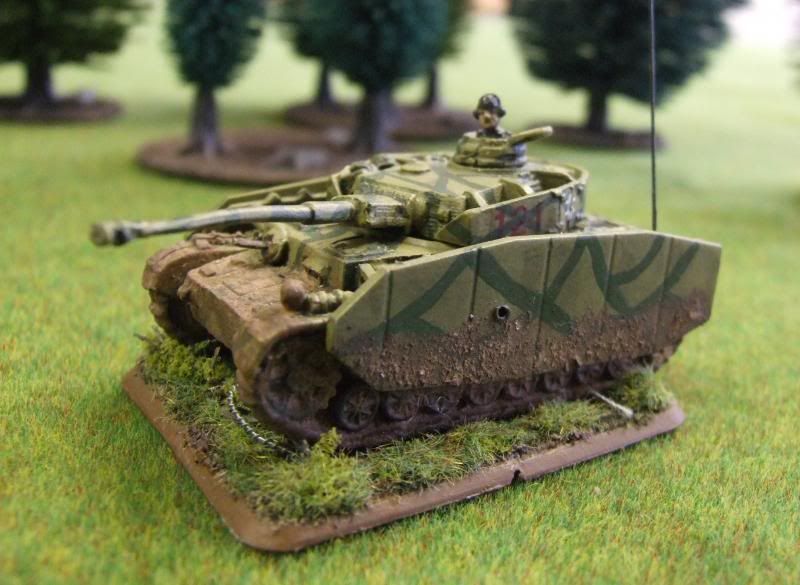
| Field Repair on Tank 125 (broke left front corner of turret Schuertzen) |
The exception is on tank 125 where after a few games he sustained some real battle damage and the left front corner of the turret Schuertzen broke off. Whatever was I to do!!!!!! To cover the damage I added a little stowage. I took some aluminum foil and folded several times and cut down to shape...making sure I kept fold lines and areas where edges didn't overlap exactly. Then I painted it a basecoat of Vallejo 830 Field Grey, a wash of 979 German Camo Dark Green, a highlight of a mix of 886 Green Grey and 830 Field Grey and a final highlight of just 886 Green Grey. Looks like a piece of tarp lying on the turret and covers that missing section quite well...thank God!
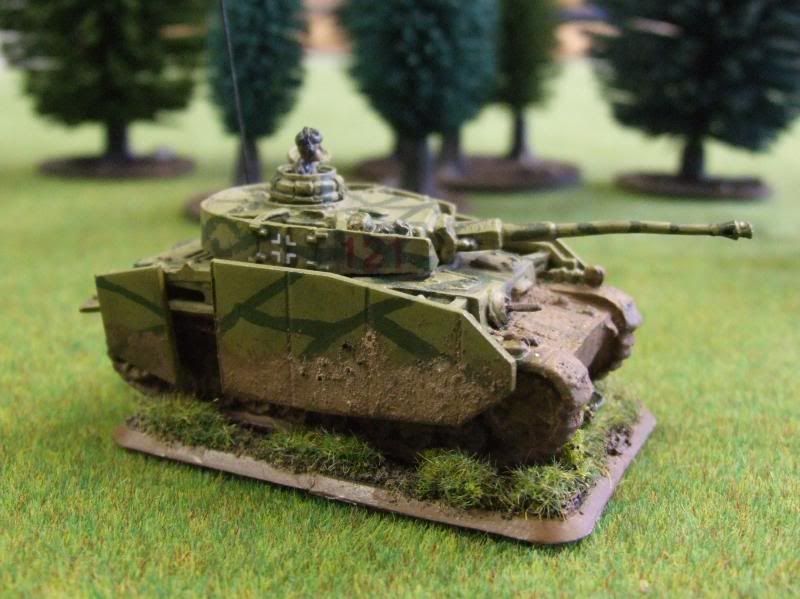
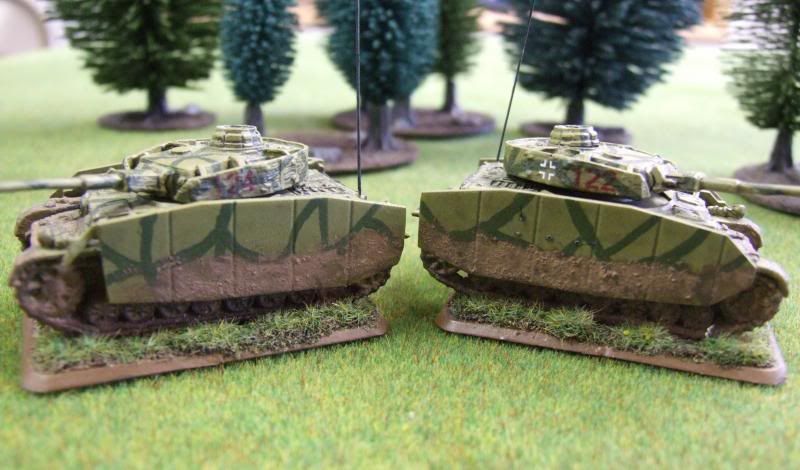
The vehicles were all airbrushed with Vallejo Middlestone (882) as a base color and then stripes of Reflective Green (890) were added by hand. I was still new at airbrushing when I did these and wasn't comfortable with airbrushing the green lines at that point. The tracks were painted 950 Black and then a heavy drybrush of 982 Cavalry Brown with a final light drybrush of 863 Gunmetal Grey and a #2 pencil. Then I gloss coated the model, applied decals and a pin wash to bring our the models' details, a little touch up where the pinwash was too heavy and then flat matte coated the model.
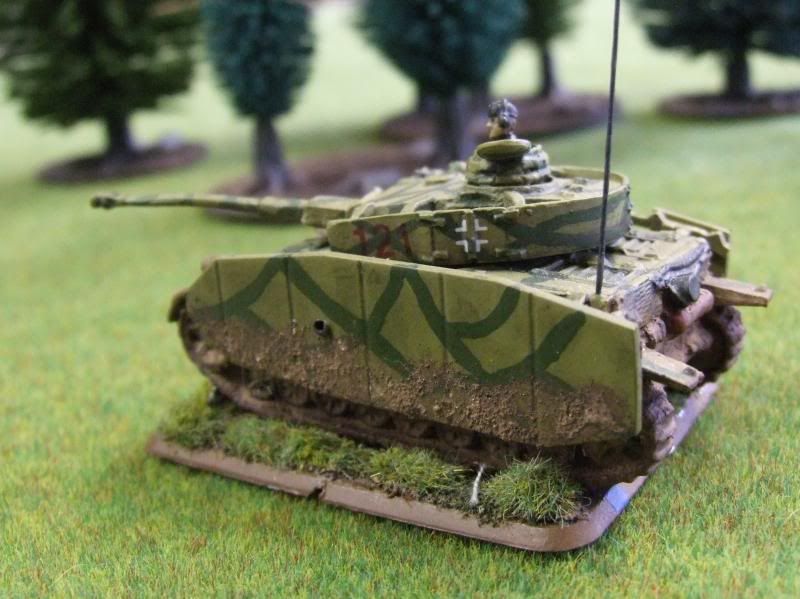
I used MIG pigments for the dirty look. When you layer pigments start with the lighter color first as it represents the dried dirt...darker, wetter colors are always on the top and towards the bottom. I applied MIG Pigments to the lower hull using a MIG Fixer and then MIG Europe Dust P028 pigment. When that dried, I started to apply Track Brown (P414) below and on top of the Europe Dust pigment...and heavy in the tracks. This is all the freshly chewed up earth that hasn't had a chance t dry and the upper layers is that dirt/mud that has splashed high and dried. Finally, I applied another coat of MIG Fixer over the pigments I had placed earlier to lock them down really good. When that was dry, I gave it a final Flat Matte finish. Don't be alarmed when you apply fixer or varnish and the pigments get all wet and dark...as they dry they will go back to their true color.
The number decals on the turret were homemade using Testors decal paper. and the crosses are from Battlefront.
Look great and thanks for the details on the painting.
ReplyDeleteKudos on the schuertzen cover up, one of the reasons I always hols onto gift card is for patch jobs like this but it never occurred to me to hide it with stowage..
ReplyDeleteYour tanks look great. Especially since they confirm that the camo pattern I painted on mine may actually have a historical precedent! ;-)
ReplyDeleteYour bases look great, but out of curiosity, why did you choose to base your vehicles?
Also, you absolutely nailed the mud. How did you create the texture? The clumpy (clumpy? Is that a word?) nature of it really sells it.
Nick blogs at Spotting Round.
Thanks all...the aluminum foil idea came to me cause I was using folded foil to make maps for my staff team tables...it folds nice and flat. I tried paper towels and toilet paper even soaked in watered down PVA (Elmer's) glue, but they didn't fold nearly flat enough...then I put 2 and 2 together. For canvas you just add more wrinkles to so a rushed folding job...something foil holds the shape of very easily.
ReplyDeleteWRT to the bases...I based my vehicles for 3 reasons. 1st is that Battlefront has most of their transports on some type of base. That is where my inspiration came from. 2nd is that it allows me to readily mark my vehicles with platoon identification markings (all those little colored ticks on the back edge of the base). These allow me to readily spot the Company, Platoon and even section. Helps IMMENSELY when platoons are intermingled. Also helps with my organizational disorder as I pack my stuff. I did a post in November 2011 (http://journeybacktothetable.blogspot.com/2011/11/unit-identifaction.html) that lays out my marking structure. Lastly, the bases give another spot to do some modeling and tell a story. If you look closely on these you can see some barbed wire the tanks have just run over. I was worried about the tanks being taller than the infantry at one time, but the infantry are on a base as well...and if you make tire tracks through the basing materiel that lets the tank rest on the base...than all is even.
Whoops...Sorry Nick. Didn't answer your question on the clumpy mud effect. For these, its all the pigments. Using Fixer is key as you lay some fix...lay some pigment...let it dry a bit...lay fixer..lay pigment...moving from dark to light in color as you do it. Alternate methods is to use Vallejo pumice or even Spackle mixed with a little sand or even PVA glue with sand/grit and apply that on the tracks and hull and then paint it.
ReplyDelete