ancientsociety on the WWPD forums said it best when he described a primer as "True primer is specifically formulated to increase the adhesion of subsequent layers by increasing hygroscopy and porosity. In the case of metals, primer also acts as a barrier against oxidation. Paint and primer are two very different mediums and its important to point this out to beginners." Full Thread Here
In the same thread MiniuteaOfWar mentioned that undercoat
and primer are used interchangeable even though they are technically
different, but can be used for similar purposes to varying degrees.
I believe that is exactly what I have done here. I have
interchanged Undercoat with Primer. When I was talking about a TRUE
primer, I was referring to primer as described by ancientsociety and elsewhere in the post I was
really referring to an undercoat. Are they different? Yes in a big way, as
ancientsociety described. If we use my walking on ice analogy from the
first Primer post, the undercoat is like throwing kitty litter on the
ice...it gives enough traction to get from point A to Point B (if you don't
run), in this case to build the paint up and seal it with a varnish which holds
it all in place. Primer is like throwing rock salt on the ice....it etches
the metal like salt etches the ice.
So why use an undercoat instead of a primer? For me it is
about the detail I want to preserve at 15mm.
My experience has been that primer is a little thicker than an undercoat and can clog detail that I want
to preserve in a 15mm figure. This
is important to me because I am putting a gloss varnish and then a flat matte finish on top of the finished paint
job that will further "clog" the detail. So I want to preserve as much as possible to give a realistic look and let the model (and the
sculptor) do some of the work for me. The
more detail that is "clogged" the more I have to work to
make it "pop".
More work equals more time and in the long run takes away from the look I am trying to achieve. At 28mm this isn't an issue for me as the detail is deep enough (usually) and a primer still leaves enough for it to pop. An undercoat, being thinner, doesn't clog the detail in a 15mm figure at
the start and I am able to preserve more of it through the painting and
varnishing process.
So what are the downsides to an undercoat? First and foremost is that until the varnish is applied there is greater risk to the paint
being rubbed off. A primer is also supposed to aid in the prevention of
oxidation on the metal. An
undercoat does not do this. Have I seen
rust develop under painted models that only used an undercoat? Can't say that I have, but it doesn't sound good.
I can picture rust forming under the paint and the paint then flaking off.
I do know that I have some models just under 10 years old where I have used this process and haven't seen
in difference between those and ones that I have just finished. Time will tell perhaps. The key, I think, is that once the varnish is applied it
locks everything in and that plastic shell should help prevent oxidation as well (keeps
air and water out). Maybe? Makes sense logically as water and air are need for oxidation and the varnish keeps those out.
I ran some experiments over the weekend on the difference between a primer and an undercoat and the
results were quite surprising.
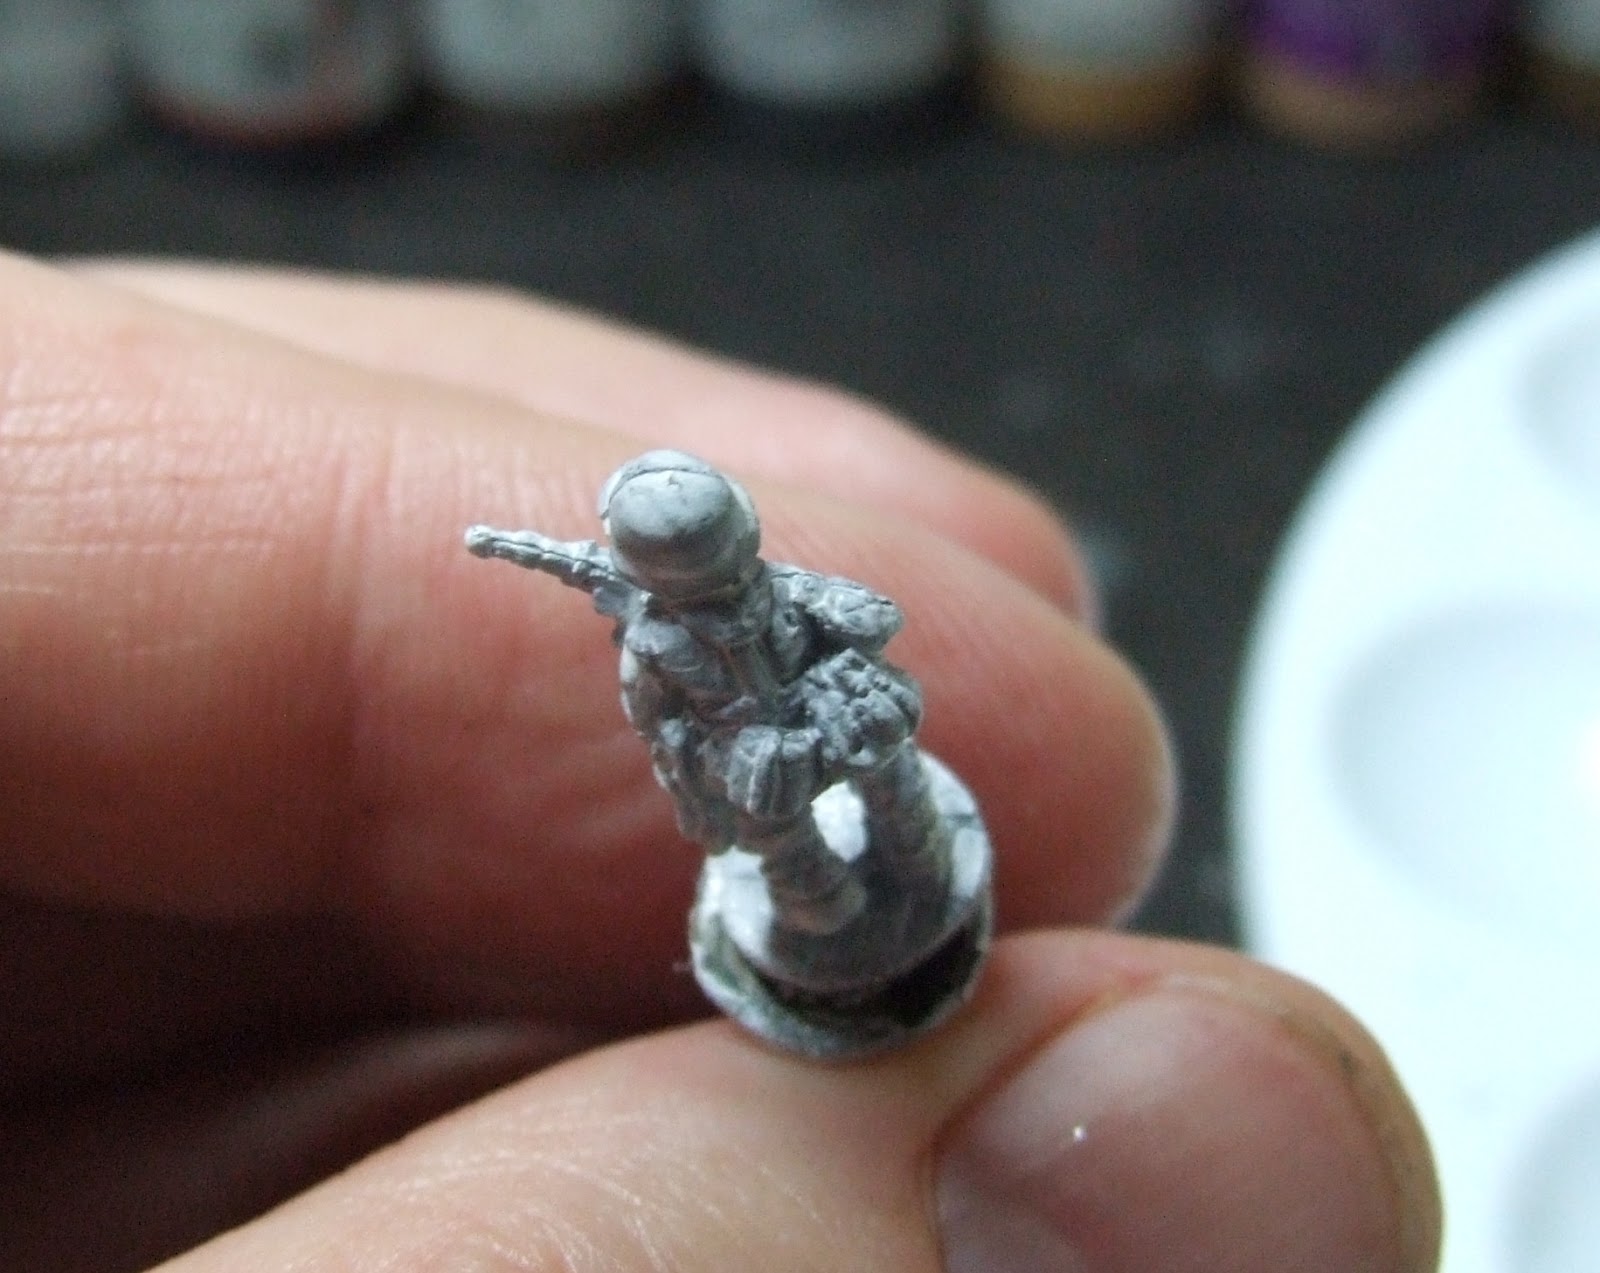
I took 5 similar spare figures I had lying around and
made 5 color coded samples.
- Yellow = Black Undercoat thinned, brushed on, then
blown off ("Compromise method" from previous post)
- Orange = White Vallejo Primer thinned, brushed on, then
blown off as above
- Red = White Vallejo Primer unthinned and brushed on
- Blue = Black Testors Model Master Acrylic thinned with
Testors Model Masters Universal Acrylic Thinner and applied with airbrush
- Green = White Vallejo Primer thinned and
applied with airbrush as above
I then conducted the first test. How much detail was "clogged". I used the black undercoat (Yellow sample) as my standard since this
is the level I am happy with. This is a subjective criteria and you can change this around to meet your standard as you see fit.

- Yellow = Standard/Acceptable

- Orange = Acceptable...slightly less than the standard. Appears to be extra build up of primer in deeper recesses. This shows up as whiter areas than the rest of the figure. It might be an optical illusion, but again was only slightly less than the standard.

- Red = Less than standard. As expected, the uncut primer did clog enough detail to be noticeable.

- Blue = Acceptable...in between the Orange and Yellow samples.

- Green = Acceptable...Very minor clogging of detail similar to Orange sample.
The next test was for the adhesion of the undercoat primer
to the model. I let the figures cure for 24 hours and then I rubbed the
helmet of each figure 5 times from front to rear with my finger using
approximately the same pressure (I didn't have a pressure gauge so EXACT
pressure is unknown).
Interesting result:

- Yellow = Could see bare metal on 4th pass

- Orange = Could see bare metal on 3rd pass

- Red = Primer showed no changed

- Blue = Undercoat showed no change
- Green = Primer/undercoat showed minor wear after 5th pass (Could begin seeing bare metal, but there was still a THIN coat of primer over it)
Next, I touched up the helmets on all the figures with an
undercoat of the type of procedure that was used to treat the figure. After that cured for 24 hours I painted the models exactly the
same...basecoat of Vallejo 830 Fieldgrau (1:1 ratio paint to water), dry for 2 hours,
shade of Vallejo 979 German Camo Dark Green (1:8 ratio paint to water), dry for 2 hours and then a
hi-light of Vallejo 886 Green Grey (1:5 ratio paint to water). After that dried for 2 hours I gloss varnished the figures with Testors Gloss Acryl varnish
and after 2 more hours I applied a flat matte finish using my airbrush of
Testors Flat Matte Acryl varnish thinned with Testors Model Masters Universal Acrylic Thinner.
Now I let the figures dry over night (roughly 7 hours)
and conducted Test 3. This test was to reflect the actual handling of models
and was the same rub test I used previously.
Very interesting results.
- Yellow = No wear after 5th pass
- Orange = Could see bare metal on 4th pass (Picture didn't come out)- Red = No wear after 5th pass
- Blue = No wear after 5th pass
- Green = No wear after 5th pass
Only the Orange sample showed wear. I think this has to do to the Primer being thinned with water and some adhesion properties are lost as a
result. The black undercoat whether airbrushed or brushed/blown on showed
no wear and looked as good as the Red sample (full primer).
The final test was another handling test and was to see
how the models withstood chipping.
I removed all the figures from the painting nails, painted their correct sample color on the underside of their base to maintain which sample was which, and placed the figures together in a box. I then shook the box "gently" for
15 seconds. Again no
precious measurement, but the shaking rhythm was the same for all 15 seconds (at least to the naked eye) and all the figures were exposed to the same environment at the same time.
I took the figures out and ALL of them showed significant
wear on the raised areas.

So, in Summary we have:

Conclusion: As long as you use a gloss varnish with Matte varnish on top of that, a Black undercoat whether airbrushed or brushed/blown off generates the same "protection" as a Primed model that has been gloss and matte varnished. Add to this detail on 15mm models that is preserved with an undercoat that I am looking for and I have my winner. The one thing that you should not do is thin your primer with water. That was a clear negative no matter how you look at it.
Again this is what I do....you need to experiment and find what
works best for you. But whatever
you do....you need to prime or undercoat the model!!!!
Don't go walking on bare ice!!!!!!
Interesting experiments. Gently shaking painted miniatures in a box with other painted miniatures is the scale equivalent of rolling painted barbeques together in a cement mixer! I would not expect any paint to survive unscathed with such harsh treatment. I really like what you have done with these experiments. What I would like to know is what have you taken from this experiment? Which method are you going to select for your next batch of painting? Is the old tried and true technique going to remain?
ReplyDeleteOn another note I would also use acrylic thinner to thin down an acrylic primer. Thinner dilutes the mix while keeping a fairly even viscosity. So you get good flow and an even uniform seperation of the particulate, while water dilutes by providing additional fluidity with a more random separation of the particulate. That is it would tend to clump and not provide a even coverage, even though to the naked eye a layer of this mix on a mini would appear so.
Also see here for examples of miniature decomposition:-
http://www.blmablog.com/p/what-is-lead-rot.html